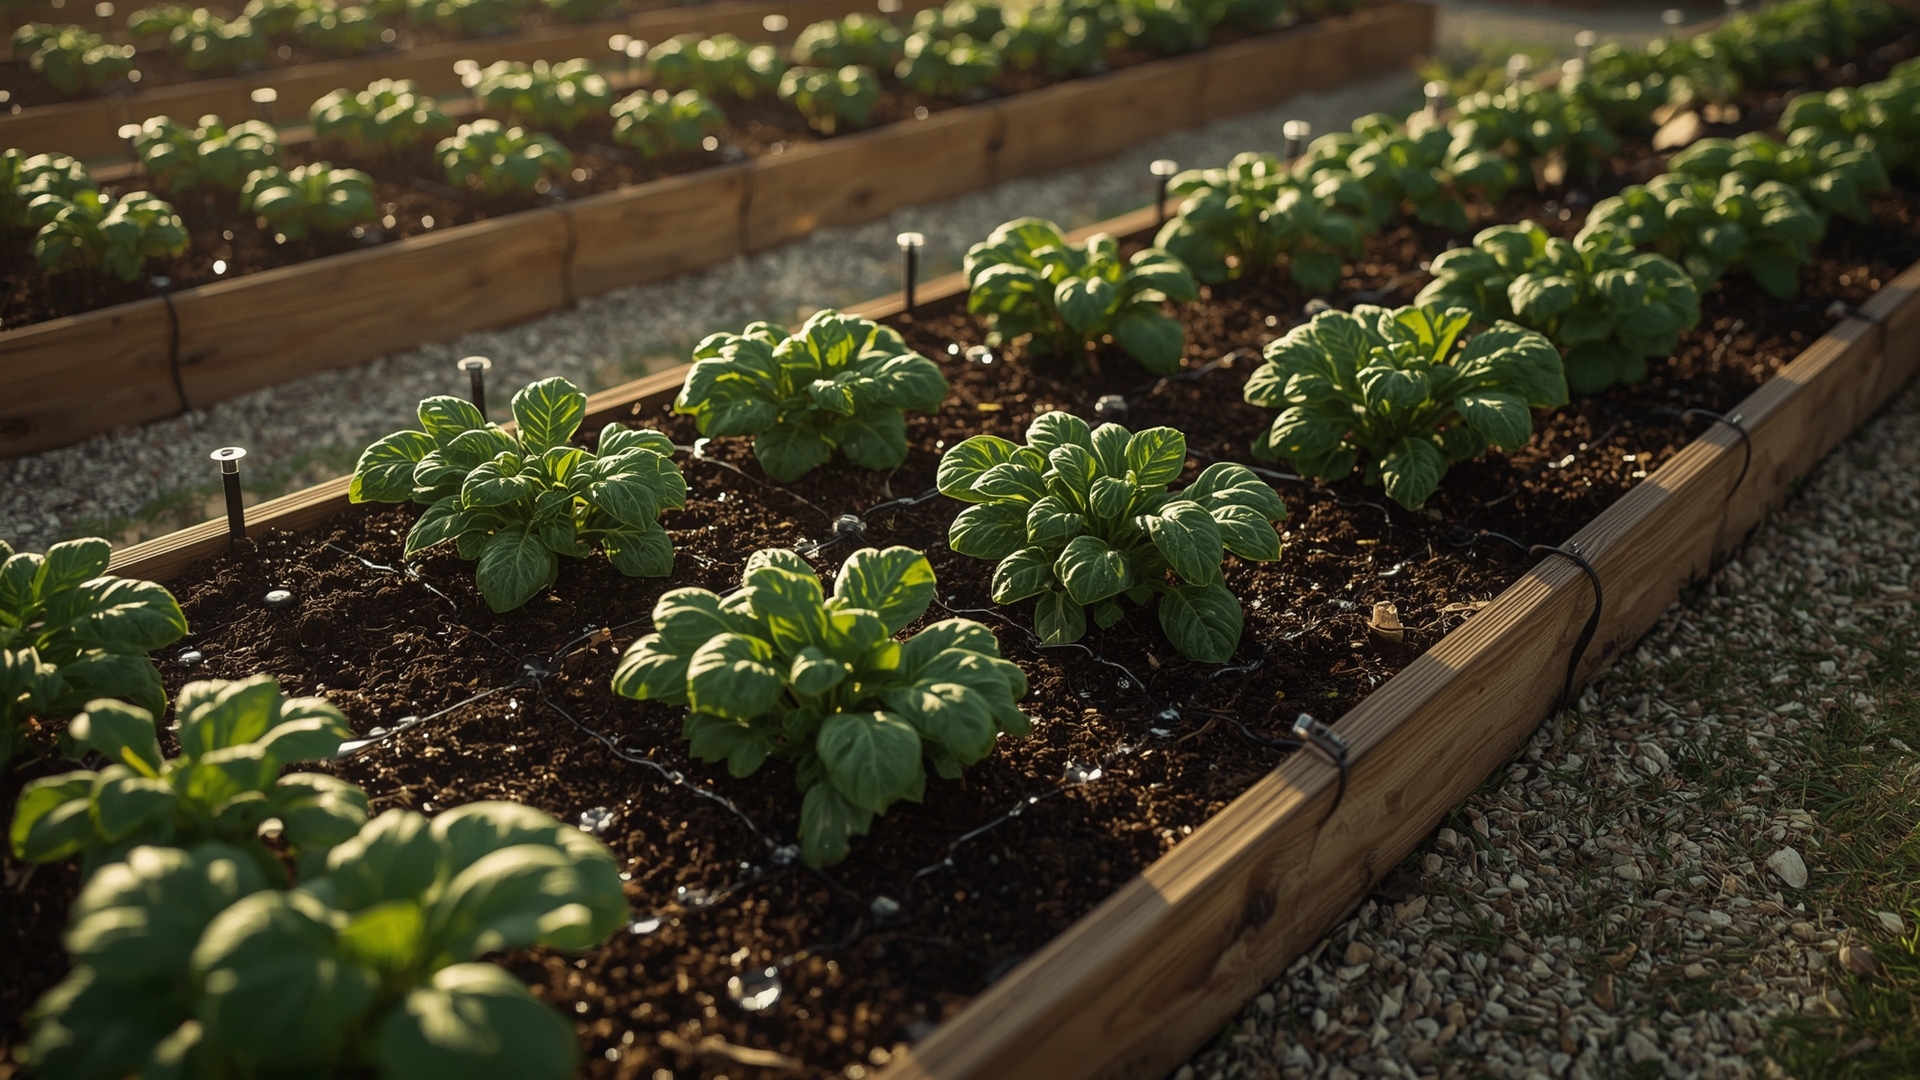
Drip irrigation delivers water directly to the root zone of your plants. This means less water wasted, fewer weeds sprouting, and healthier vegetables overall. If you’ve ever hand-watered a raised bed on a hot July morning and still watched your tomatoes wilt, this system is the fix.
Setting up drip irrigation for raised beds doesn’t require plumbing experience. You need the right parts, a basic layout plan, and about two hours. This guide walks you through every step, from connecting to your outdoor spigot to programming your first watering schedule.
Key Takeaways
- Drip irrigation reduces water use by 30–50% compared to overhead sprinklers by delivering water directly to the soil surface.
- A basic raised bed kit includes a backflow preventer, filter, pressure regulator, main supply line, drip tubing, and emitters.
- Emitter spacing depends on plant type: 6 inches for dense crops like lettuce, 12 inches for tomatoes and peppers.
- A digital timer automates the system and prevents overwatering, which is the most common drip irrigation mistake.
- Seasonal maintenance includes flushing lines in spring, checking emitters monthly, and winterizing before the first freeze.
- Raised beds need roughly 1 inch of water per week, which translates to about 30–60 minutes of drip run time depending on emitter flow rate.
What Parts Do You Need to Set Up Drip Irrigation for Raised Beds?

Quick Answer: You need a backflow preventer, pressure regulator, filter, timer, main supply line (1/2-inch tubing), drip emitter tubing (1/4-inch), emitters, end caps, and stakes. A starter kit for one 4×8 raised bed costs $30–$60.
Every drip system starts at the water source and works outward. Each component in the line has a specific job. Skipping one can mean clogged emitters, burst tubing, or wasted water.
What Does Each Component Actually Do?
Here’s a breakdown of every part in the order it connects from spigot to soil.
| Component | Function | Typical Cost | Where It Connects | Notes |
|---|---|---|---|---|
| Backflow Preventer | Stops irrigation water from flowing back into your drinking supply | $8–$15 | First after the spigot | Required by code in most municipalities |
| Digital Timer | Automates watering schedule by day and duration | $20–$50 | After backflow preventer | Battery-operated; no wiring needed |
| Pressure Regulator | Reduces house water pressure to 20–30 PSI for drip systems | $8–$15 | After the timer | Standard home pressure (60–80 PSI) blows emitters off |
| Filter (Mesh Screen) | Catches sediment that clogs emitters | $5–$12 | After pressure regulator | 150-mesh screen recommended |
| Main Supply Line | Carries water from the source to the bed | $0.10–$0.20/ft | From filter to bed | 1/2-inch polyethylene tubing; black resists algae |
| Drip Emitter Tubing | Distributes water along plant rows | $0.15–$0.30/ft | Branching off main line | 1/4-inch diameter; pre-punched or blank available |
| Emitters | Control exact flow rate at each plant | $0.30–$1.00 each | Inserted into drip tubing | Choose 0.5, 1, or 2 GPH (gallons per hour) based on plant |
| End Caps / Figure-8 Ends | Seal the open end of each drip line | $0.50–$2.00 each | End of each tubing run | Figure-8 ends are reusable for flushing |
Should You Buy a Kit or Build Your Own System?
Starter kits from brands like Rain Bird, Raindrip, and DIG work well for one or two beds. They include all the core parts and cut the guesswork out of compatibility.
Building your own from individual parts makes more sense when you have three or more beds, irregular shapes, or specific emitter flow needs. You’ll spend more time planning but get a more precise system.
How Do You Plan the Layout for a Raised Bed Drip System?
Quick Answer: Sketch your bed on paper first. Mark plant rows and spacing. Run one drip line per row or per plant cluster. Keep total drip tubing runs under 200 feet from a single 1/2-inch supply line to maintain consistent pressure.
Layout planning prevents two common problems: dry patches and overwatered zones. Both happen when you install without a plan.
How Do You Map Water Zones Across Multiple Beds?
Each raised bed counts as one zone if you connect them in parallel, meaning each bed gets equal water pressure. Connecting beds in series (one after another) causes the last bed to receive lower pressure and less water.
For most home setups with two to four 4×8 beds, a single spigot and timer can handle all zones simultaneously. If you’re running more than four beds, consider adding a second timer and spigot, or installing a multi-zone manifold.
What Should Your Layout Sketch Include?
- Bed dimensions (length and width)
- Crop rows and spacing
- Entry point for the main supply line
- Number and direction of drip tubing runs
- Emitter locations marked per plant or per row
- End cap positions
How Far Apart Should Drip Emitters Be Spaced?
Quick Answer: Space emitters 6 inches apart for leafy greens, 12 inches for tomatoes and peppers, and 18–24 inches for squash and melons. Each emitter should sit 2–4 inches from the plant’s main stem, not directly on top of it.
Emitter spacing is the most important variable in a drip system. Too far apart and you create dry spots between plants. Too close and you waste water and encourage root rot.
Emitter Spacing and Flow Rate by Crop Type
| Crop | Emitter Spacing | Recommended Flow Rate | Distance from Stem | Notes |
|---|---|---|---|---|
| Lettuce, Spinach, Arugula | 6 inches | 0.5 GPH | 2 inches | Dense planting needs consistent coverage |
| Carrots, Radishes, Beets | 6 inches | 0.5 GPH | 2–3 inches | Root crops need even soil moisture |
| Tomatoes, Peppers, Eggplant | 12 inches | 1–2 GPH | 3–4 inches | Use 2 emitters per plant for large varieties |
| Beans, Peas | 6–9 inches | 0.5–1 GPH | 2–3 inches | Often planted in double rows |
| Cucumbers, Squash | 18 inches | 1–2 GPH | 4 inches | Wide root zone; may need 2 emitters |
| Herbs (Basil, Parsley, Cilantro) | 6 inches | 0.5 GPH | 2 inches | Light, frequent watering works best |
| Melons | 24 inches | 2 GPH | 4–6 inches | High water demand during fruit set |
Should You Use Inline Emitters or Individual Drip Emitters?
Inline emitters are built directly into the drip tubing at fixed intervals (6, 9, or 12 inches). These work best for crops planted in rows with consistent spacing, like carrots or lettuce.
Individual emitters are inserted on demand using a hole punch tool. They give you the flexibility to place water exactly where each plant sits. This matters most when you mix crops in the same bed.
How Do You Install Drip Irrigation Step by Step?
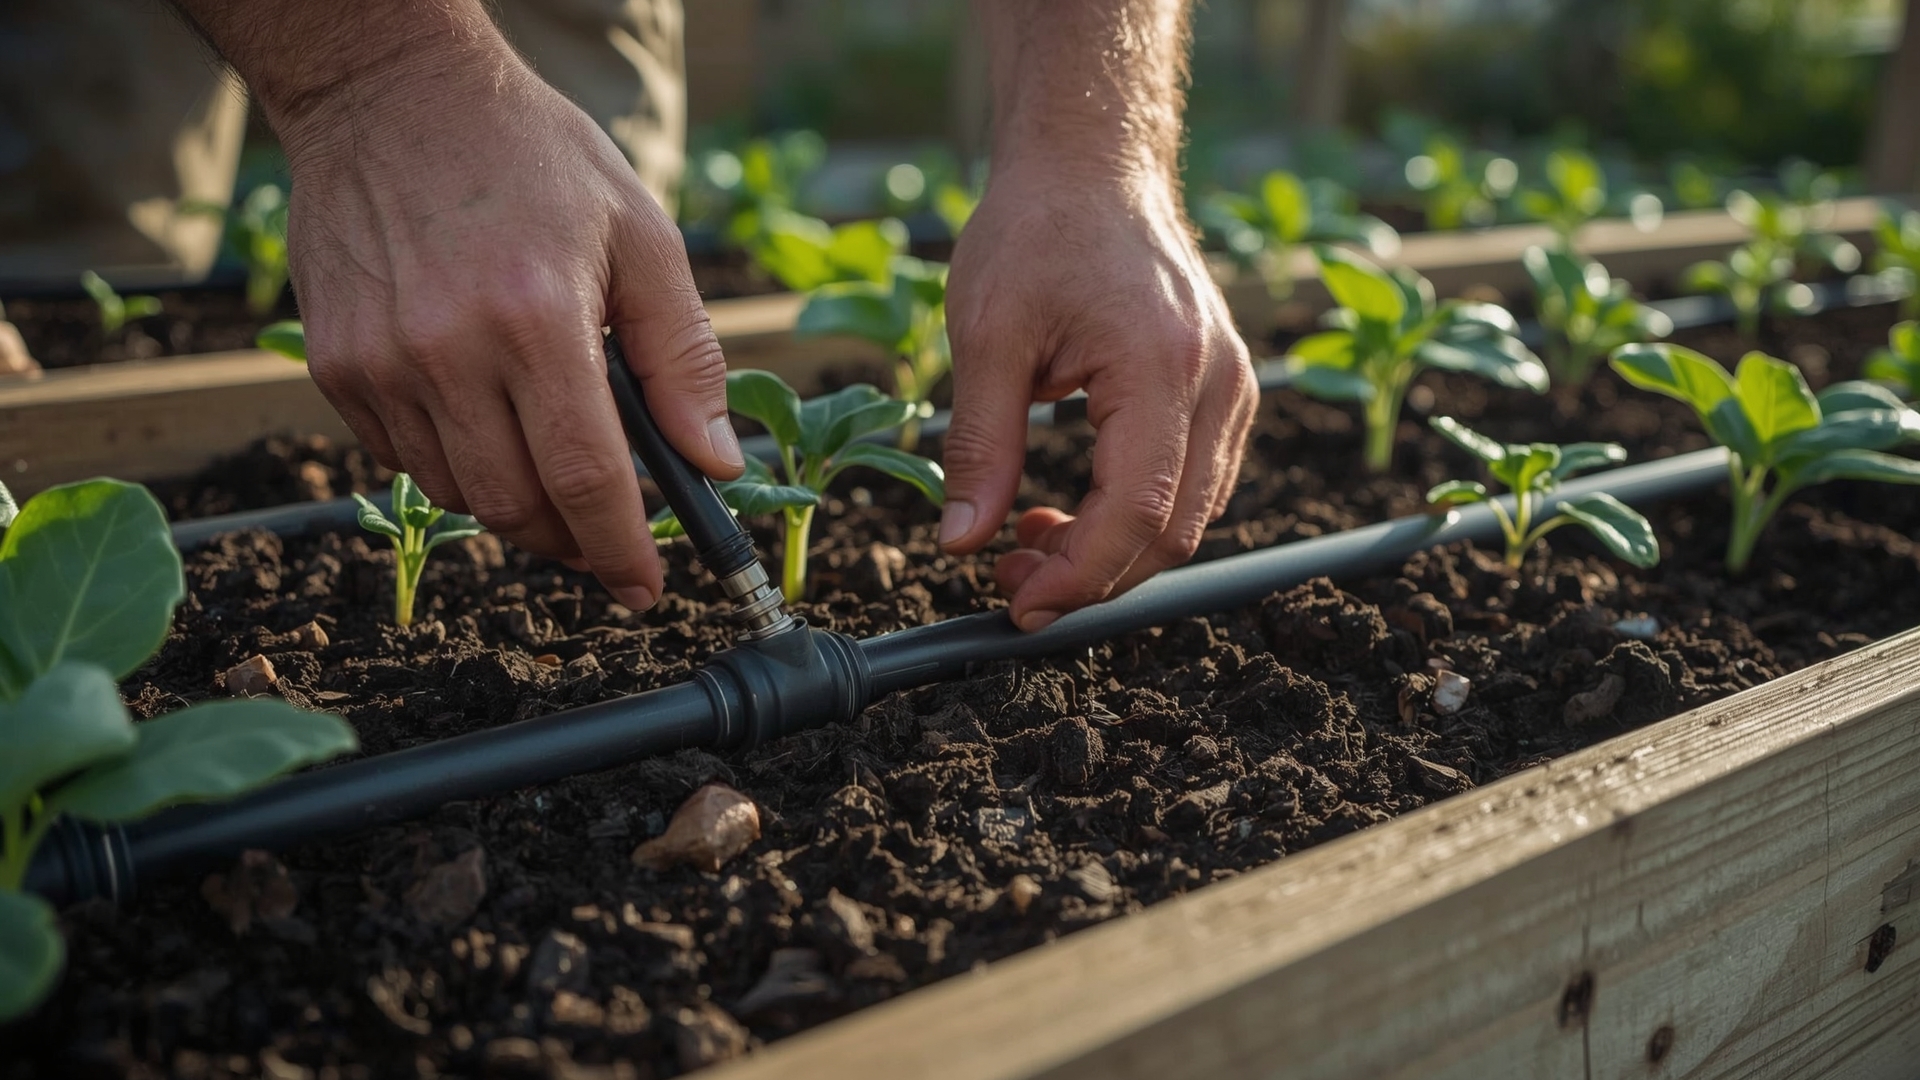
Quick Answer: Connect the backflow preventer to your spigot, then add the timer, pressure regulator, and filter in sequence. Run 1/2-inch supply tubing to the bed, punch holes for 1/4-inch drip lines, insert emitters, cap the ends, and flush before first use.
Step 1: Connect the Head Assembly at Your Spigot
Thread the backflow preventer directly onto the spigot by hand. Then attach the timer, followed by the pressure regulator, then the filter. Most components have standard 3/4-inch hose thread fittings that connect in sequence.
Use plumber’s tape (also called Teflon tape) on threaded connections to prevent small leaks. Wrap two to three layers clockwise around the threads before screwing parts together.
Step 2: Run the Main Supply Line to Your Raised Bed
Unroll your 1/2-inch polyethylene tubing and run it from the head assembly to the first bed. Use a tubing stake every 3–4 feet to keep it flat against the ground.
If you’re connecting multiple beds, use a barbed tee fitting to split the line. Cut the tubing with a sharp pair of tubing cutters (not scissors) for a clean connection that won’t leak.
Step 3: Punch Holes and Add 1/4-Inch Drip Lines
Use a hole punch tool to make holes along the main supply line wherever a drip run needs to branch off. Insert a barbed connector, then attach your 1/4-inch drip tubing. Press firmly until the barb seats fully inside the tubing.
Run one drip line per plant row. Cut each line to match the length of the row exactly, then cap the open end with a figure-8 end or push-cap.
Step 4: Insert Emitters at Each Plant Location
If you’re using blank 1/4-inch tubing (no pre-installed emitters), use the hole punch to make openings at each plant location along the drip line. Insert individual emitters by pressing them firmly into each hole.
Choose emitter flow rates based on the crop type table above. You can use different flow rates in the same bed as long as the total flow per zone doesn’t exceed what your pressure regulator can handle.
Step 5: Flush the System Before Programming
Remove all end caps before turning on the water for the first time. Let the system run for two minutes. This clears debris, dust, and any manufacturing residue from the tubing. Then replace the caps and check every emitter connection for drips at the joints.
Step 6: Stake and Secure All Tubing
Use wire stakes or U-pins to anchor the drip tubing flat against the soil surface. Place stakes every 12–18 inches. Tubing that floats or shifts can pull emitters out of position over time, especially after heavy rain.
How Do You Program a Drip Irrigation Timer for Raised Beds?
Quick Answer: Set your timer to run early morning (5–7 AM) to reduce evaporation. Run for 20–45 minutes, 3–4 days per week in dry conditions. Adjust based on rainfall. Raised beds dry out 2x faster than in-ground beds because they drain more freely.
Programming a timer is simpler than it sounds. Most digital timers have just three settings: start time, duration, and frequency.
What Watering Schedule Works for Raised Beds?
| Season / Condition | Start Time | Run Duration | Frequency | Notes |
|---|---|---|---|---|
| Spring (cool, some rain) | 6:00 AM | 20–25 minutes | Every 2–3 days | Check soil before each cycle |
| Summer (hot, dry) | 5:30 AM | 35–45 minutes | Daily or every other day | Check moisture 2 inches deep |
| Fall (mild, occasional rain) | 6:00 AM | 20–30 minutes | Every 2–3 days | Reduce as temperatures drop |
| After rainfall (0.5+ inches) | Skip | 0 minutes | Skip 1–2 days | Use a rain sensor to automate skipping |
| Seedling establishment | 7:00 AM | 10–15 minutes | Daily | Top inch of soil must stay consistently moist |
How Do You Know If Your Timer Settings Are Correct?
Check soil moisture 24 hours after a watering cycle. Push your finger two inches into the soil near the root zone. It should feel damp but not muddy. If it’s bone dry, increase run time by five minutes. If it’s soggy, reduce frequency by one day.
A soil moisture meter costs $10–$20 and removes the guesswork entirely. It gives you a reading in seconds and pays for itself in water savings within one season.
Should You Add a Rain Sensor to Your Timer?
Yes, if your area gets irregular summer rain. A rain sensor automatically pauses the timer when a set amount of precipitation falls (typically 1/8 to 1/2 inch). This prevents overwatering after storms and costs $15–$30. Most attach directly to your existing timer without tools.
How Do You Maintain a Drip Irrigation System Through the Season?
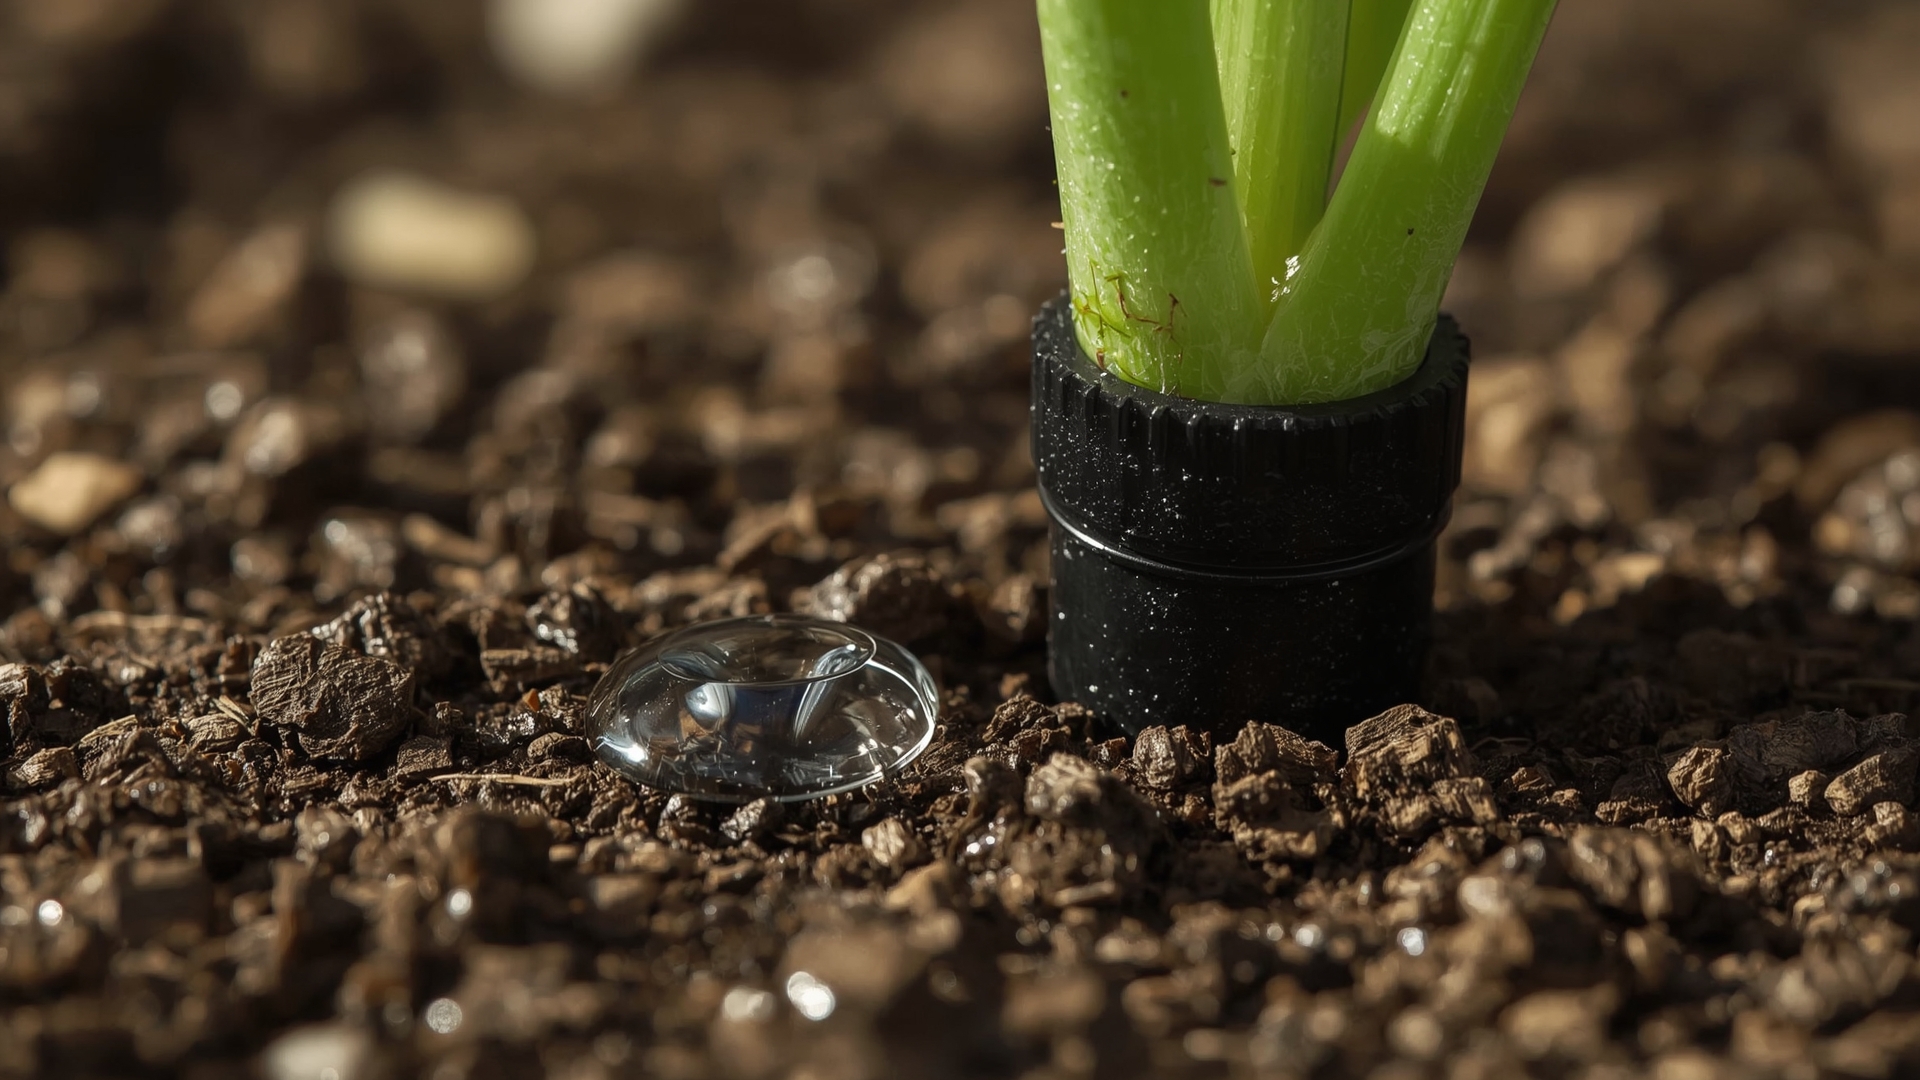
Quick Answer: Flush the lines every 4–6 weeks by removing end caps and running the system for two minutes. Check emitters monthly for clogs or damage. Replace clogged emitters immediately. Inspect all connections at the start of each month for slow drips or loose fittings.
Monthly Drip System Maintenance Checklist
- Check all emitters for uniform flow. A slow or non-flowing emitter needs cleaning or replacement.
- Inspect all barbed connections along the drip tubing for leaks.
- Clean the filter by removing the screen and rinsing under running water.
- Verify timer battery if battery-operated. Most 9V batteries last one full season.
- Adjust run time based on current weather conditions and plant growth stage.
- Check tubing stakes and re-anchor any loose sections.
How Do You Fix a Clogged Drip Emitter?
Remove the emitter from the tubing. Soak it in white vinegar for 30 minutes to dissolve mineral deposits. Rinse with clean water and reinstall. If the emitter still flows poorly, replace it. Emitters cost less than $1 each, so replacement is almost always faster than extensive cleaning.
How Do You Winterize a Drip Irrigation System?
In climates that freeze, you need to drain the system before the first hard frost. Water left in tubing expands when it freezes and cracks the tubing or pops fittings apart.
To winterize, turn off the water supply, remove end caps, and let the lines drain by gravity. Disconnect the timer and store it indoors. Roll up the tubing and store it in a shed or garage if possible. This extends tubing life from 3–5 years to 7–10 years.
Drip Irrigation Component Lifespan and Replacement Schedule
| Component | Average Lifespan | Replacement Trigger | Replacement Cost |
|---|---|---|---|
| Digital Timer | 3–5 years | Fails to trigger or display errors | $20–$50 |
| Pressure Regulator | 5–7 years | Pressure inconsistency, leaks | $8–$15 |
| Mesh Filter Screen | 1–2 seasons | Visible damage or persistent clogging | $5–$12 |
| 1/2-Inch Supply Tubing | 7–10 years (stored) / 3–5 years (exposed) | Cracks, brittleness, UV degradation | $0.10–$0.20/ft |
| 1/4-Inch Drip Tubing | 3–5 years | Kinking, cracks near connections | $0.15–$0.30/ft |
| Individual Emitters | 2–4 seasons | Clogged, inconsistent flow, cracked body | $0.30–$1.00 each |
| Backflow Preventer | 5–8 years | Visible dripping, failed check valve | $8–$15 |
What Are the Most Common Drip Irrigation Mistakes to Avoid?
Quick Answer: The most common mistakes are skipping the pressure regulator (which blows emitters off), connecting beds in series instead of parallel (which creates uneven water pressure), and never cleaning the filter (which clogs the whole system within weeks).
Pressure Problems: The Mistake That Ruins Everything
Standard household water pressure runs at 60–80 PSI. Drip systems are designed for 20–30 PSI. Without a pressure regulator, emitters pop off, connections leak, and tubing can split at joints. A $10 pressure regulator prevents all of this.
Uneven Watering Across Multiple Beds
Connecting beds in series (like a chain) drops pressure with each bed added. The first bed gets full pressure. The last bed might get half. Instead, use a multi-outlet manifold or tee fittings to run each bed in parallel from the main supply line. Every bed then gets equal pressure.
Burying Emitters Under Mulch
Mulch helps retain moisture, but burying emitters under mulch prevents you from seeing clogs or leaks. Lay the drip tubing on the soil surface first, then apply mulch lightly on top. Leave the emitter heads accessible for monthly inspection.
Setting and Forgetting the Timer
A timer set in May doesn’t work for July. Plants grow larger, temperatures rise, and water needs change week by week. Check your timer settings every two weeks and adjust run time by five to ten minutes as conditions change.
How Much Does It Cost to Set Up Drip Irrigation for Raised Beds?
Quick Answer: A basic drip system for one 4×8 raised bed costs $30–$75 in parts. Adding a timer adds $20–$50. A full setup for four beds (including timer, filter, pressure regulator, and all tubing) typically runs $100–$200 total.
Drip Irrigation Cost Breakdown by Setup Size
| Garden Size | Parts Cost (No Timer) | Total With Timer | DIY vs. Kit | Estimated Annual Water Savings |
|---|---|---|---|---|
| 1 raised bed (4×8) | $30–$50 | $50–$100 | Kit recommended | 500–1,000 gallons/season |
| 2–3 raised beds | $60–$100 | $80–$150 | Kit or DIY | 1,000–2,500 gallons/season |
| 4–6 raised beds | $100–$160 | $120–$200 | DIY parts preferred | 2,500–5,000 gallons/season |
| Large garden (7+ beds) | $160–$300 | $200–$400 | DIY + multi-zone timer | 5,000+ gallons/season |
Frequently Asked Questions
Can you use drip irrigation for container gardens and raised beds at the same time?
Yes. You can run a single 1/2-inch supply line from your spigot and branch off with 1/4-inch drip tubing to both raised beds and large containers. Use adjustable emitters (0.5–2 GPH) for containers, since pots dry out faster than raised beds and may need higher flow rates.
How deep should drip tubing sit in a raised bed?
Keep drip tubing on the surface of the soil, not buried. Buried tubing is harder to inspect and replace. If you want to hide tubing visually, lay it on the soil and cover lightly with mulch, leaving emitter heads exposed for easy inspection.
What is the difference between drip tape and drip tubing?
Drip tape is a flat, thin-walled product with pre-spaced holes, designed for large row-crop farming. It’s not ideal for raised beds because it’s harder to customize spacing and less durable under repeated handling. Standard 1/4-inch drip tubing with individual emitters gives you better precision for raised beds.
How many emitters can you run from one 1/2-inch supply line?
A single 1/2-inch supply line at 25 PSI typically supports 150–200 individual 0.5 GPH emitters, or 100–150 emitters at 1 GPH. For most home gardens with two to six beds, you’ll stay well under this limit. Problems arise when gardeners add too many high-flow emitters in a single zone.
Do raised beds need more water than in-ground gardens?
Yes. Raised beds drain more freely because they sit above ground level and lose heat faster on all sides. They typically dry out twice as fast as in-ground gardens. This is why drip irrigation works so well for raised beds. It delivers frequent, targeted water without saturating the soil between sessions.
Can you connect a soaker hose to a drip irrigation system?
Technically yes, but it’s not recommended. Soaker hoses operate at different pressure levels than drip emitter systems and have inconsistent flow rates along their length. Mixing them into the same zone causes uneven watering. For raised beds, dedicated drip emitter tubing gives you far more control over where and how much water each plant receives.