Planning drip irrigation zones for a vegetable garden is not just about laying tubing and poking in emitters. If you have four or more beds, different crops, and limited water pressure, a poorly designed system wastes water, stresses plants, and fails within a season. A well-planned zone layout matches water delivery to each crop’s actual demand, keeps pressure stable across every bed, and makes seasonal adjustments easy.
This guide walks you through every step: calculating your water supply, grouping beds into zones, sizing your manifold, and setting up timers for multiple zones.
Key Takeaways
- Group plants by water need, not by location. Tomatoes and squash need deep, infrequent watering. Lettuce and herbs need frequent, shallow watering. Keep these in separate zones.
- Know your GPH (gallons per hour) capacity before adding emitters. Exceeding your system’s flow rate drops pressure and causes uneven watering across the zone.
- A manifold with individual zone valves makes expansion easy. You can add beds or change timers without rebuilding the whole system.
- Multi-timer configurations let one water source run 4+ zones independently. Each zone gets its own schedule without manual switching.
- Pressure regulators and filters are not optional. Most drip systems run best at 25–30 PSI. Household pressure is often 60–80 PSI, which blows emitters out.
- Drip tubing spacing depends on soil type. Sandy soil spreads water 6–8 inches laterally. Clay soil spreads 12–18 inches. Spacing your emitters to match your soil type prevents dry spots.
What Is a Drip Irrigation Zone and Why Do Vegetable Gardens Need More Than One?
Quick Answer: A drip irrigation zone is a group of plants served by the same valve, timer, and water schedule. Vegetable gardens need multiple zones because tomatoes, lettuce, and herbs each require different watering frequency and volume to stay healthy.
A zone is simply a group of plants controlled by one valve. Every plant in that zone runs on the same schedule and receives water at the same time. That works fine when all the plants in a zone need the same amount of water.
The problem with vegetable gardens is that they rarely contain one crop type. Tomatoes want deep watering every two to three days. Lettuce wants light watering every day. Basil goes dormant if it sits in wet soil too long. Put these plants on a single zone and you will either drown your herbs or stress your tomatoes.
For gardens with four or more beds, separate zones let you tailor water delivery precisely. You also reduce your risk: if one zone valve fails, only one section of the garden is affected.
How Many Zones Does a 4-Bed Garden Typically Need?
Most four-bed gardens run well on two to four zones. The exact number depends on your crop mix and bed arrangement.
- 2 zones: Works when beds contain similar crops (e.g., two beds of nightshades, two beds of leafy greens).
- 3 zones: Adds a dedicated zone for herbs or perennial crops like asparagus that stay in the ground year-round.
- 4 zones: Ideal when each bed has a distinct crop family with different water needs.
How Do You Calculate Water Pressure and Flow Rate for a Drip System?
Quick Answer: Measure your static water pressure with a gauge at the outdoor spigot. Then run a bucket test to find your flow rate in GPH. Your total emitter output per zone must stay below 75% of that flow rate to maintain stable pressure.
Before you buy a single foot of tubing, you need two numbers: your water pressure in PSI (pounds per square inch) and your flow rate in GPH (gallons per hour).
How to Measure Your Static Water Pressure
A pressure gauge threads onto any standard outdoor hose bib. Turn on the spigot with nothing else running in the house and read the gauge. Most residential systems read between 40 and 80 PSI.
Drip systems need 20 to 30 PSI at the emitters. If your reading is higher, install a pressure regulator. Most regulators are preset at 25 or 30 PSI and cost $8 to $15.
How to Measure Your Flow Rate
Use the bucket test. Place a five-gallon bucket under your outdoor spigot. Open the spigot fully and time how long it takes to fill. Multiply to get GPH.
Example: If the bucket fills in 45 seconds, your flow rate is roughly 400 GPH. A one-minute fill equals 300 GPH.
Your usable capacity per zone is about 75% of that number. A 400 GPH line gives you 300 GPH per zone before pressure drops.
Drip System Pressure and Flow Reference Table
| Component | Recommended Spec | Common Failure Range | Fix |
|---|---|---|---|
| Operating pressure at emitters | 25–30 PSI | Below 15 PSI or above 45 PSI | Add pressure regulator ($8–$15) |
| Inline filter mesh size | 150–200 mesh | Below 100 mesh (clogs emitters) | Replace with 200-mesh filter |
| Header tubing diameter | 3/4″ poly main line | 1/2″ for runs over 200 ft | Upsize to 3/4″ main line |
| Max emitters per zone (1 GPH) | 200–225 emitters | Over 300 emitters (pressure drop) | Split into two zones |
| Max run length (1/2″ tubing) | 200 ft | Over 250 ft (pressure loss) | Add second main line branch |
How Do You Group Vegetable Garden Beds Into Irrigation Zones?
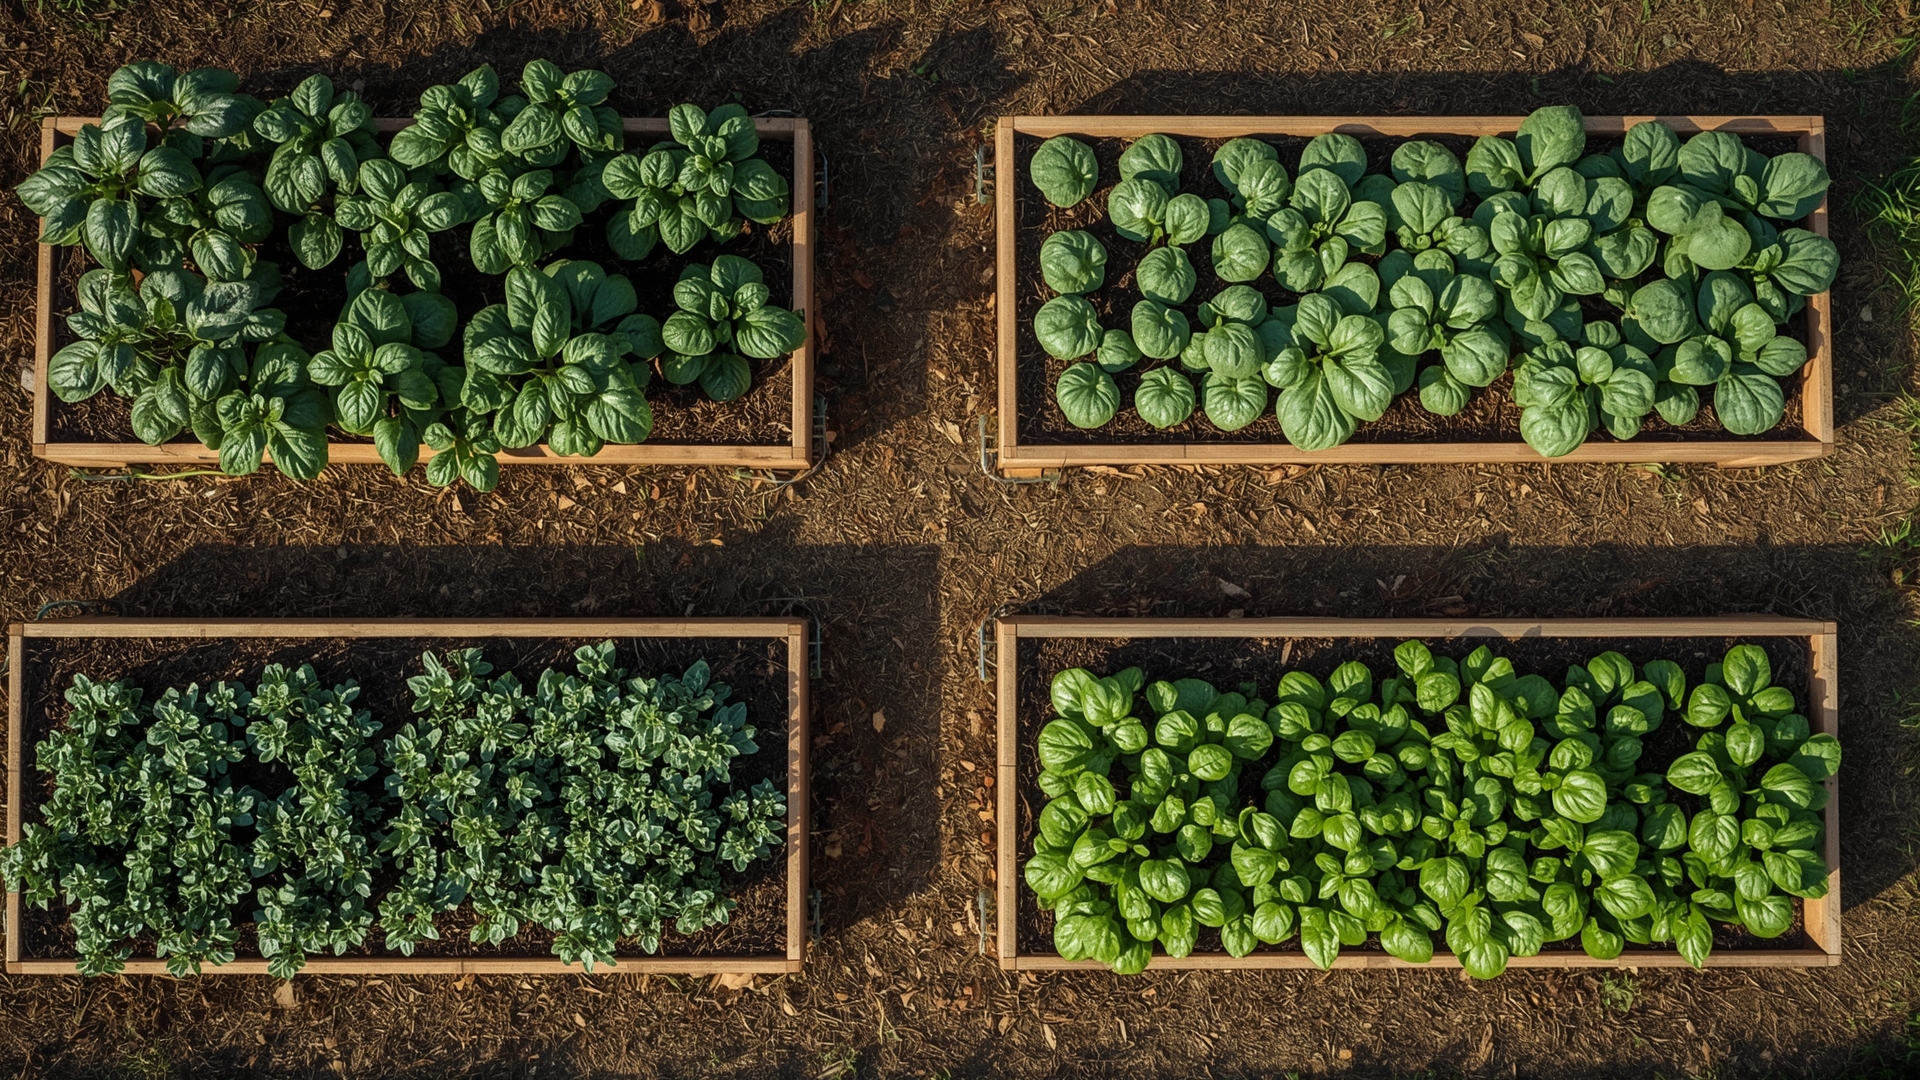
Quick Answer: Group beds by water need, not physical location. Place crops with similar watering frequency and volume in the same zone. Deep-rooted crops like tomatoes form one zone; shallow-rooted crops like lettuce and spinach form another.
This is the most important design decision you will make. Many gardeners group beds by proximity to the spigot, which saves tubing but creates watering conflicts between crops.
The better approach is to group by water behavior. Ask two questions for every crop in your garden:
- How often does this crop need water? (Daily, every 2 days, every 3 days)
- How deeply does this crop need water? (Top 6 inches, top 12 inches, top 18 inches)
Crops with the same answers to both questions belong in the same zone.
Vegetable Crop Watering Groups for Zone Planning
| Zone Group | Crops | Watering Frequency | Root Depth | Emitter Rate |
|---|---|---|---|---|
| Zone A: Heavy feeders / deep roots | Tomato, pepper, eggplant, squash, cucumber | Every 2–3 days | 12–24 inches | 1–2 GPH emitters |
| Zone B: Moderate / medium roots | Bean, beet, carrot, Swiss chard, kale | Every 2 days | 8–18 inches | 1 GPH emitters |
| Zone C: Shallow / frequent | Lettuce, spinach, arugula, radish | Daily or every other day | 4–8 inches | 0.5–1 GPH emitters |
| Zone D: Low water / herbs | Basil, oregano, thyme, rosemary, sage | Every 3–5 days | 6–12 inches | 0.5 GPH emitters |
What Happens When You Mix Zone Types in One Bed?
If a single bed contains tomatoes and lettuce, you have a problem. You can only run one watering schedule per zone. Either your lettuce dries out between deep watering sessions, or your tomato roots sit in constantly wet soil and develop root rot.
The cleanest fix is to replant mixed beds so each contains one crop group. If replanting is not practical, use separate sub-zone lines within the bed controlled by different zone valves.
What Is a Manifold and How Do You Set One Up for Multiple Zones?
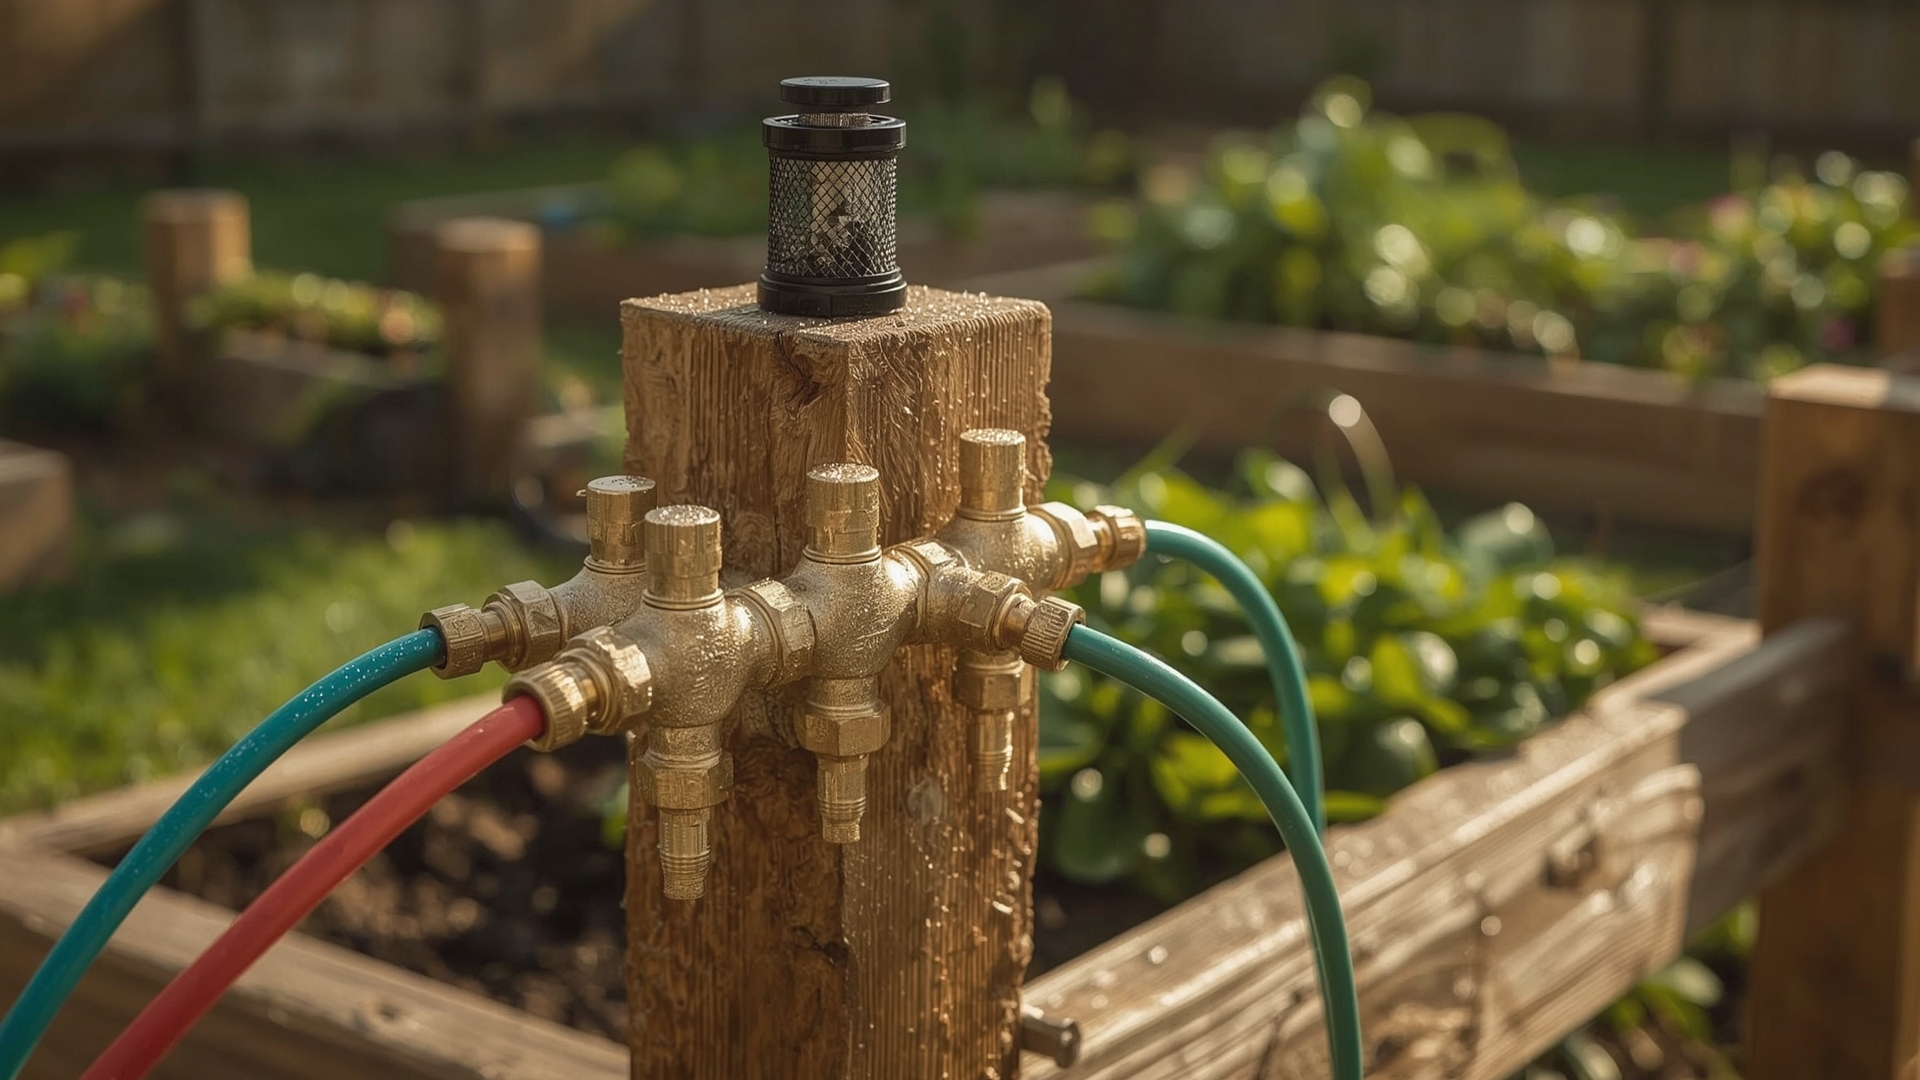
Quick Answer: A manifold is a central valve block that splits one water source into multiple independent zones. Each port on the manifold controls one zone. For 4+ beds, install a 4-port or 6-port manifold with individual shutoff valves so each zone can run or close independently.
A manifold (also called a valve assembly or zone block) sits between your water source and your drip lines. It has a single inlet and multiple outlets, one per zone. Each outlet gets its own ball valve or solenoid valve.
For manual systems, you open and close each ball valve by hand. For automated systems, solenoid valves connect to a timer or controller that opens them on a schedule.
Types of Manifold Setups for Vegetable Gardens
| Manifold Type | Number of Zones | Automation | Typical Cost | Best For |
|---|---|---|---|---|
| Multi-port hose splitter | 2–4 zones | Manual only | $12–$25 | Small gardens, no electricity |
| Pre-assembled manifold with timers | 2–6 zones | Battery timer per port | $45–$90 | Gardens without controller access |
| Solenoid valve manifold + controller | 4–12 zones | Fully automated | $80–$250 | Large gardens, consistent scheduling |
| Smart manifold (Wi-Fi controller) | 4–16 zones | App-based, weather-adjusted | $150–$400 | Efficiency-focused gardeners |
How to Install a Basic 4-Zone Manifold
- Thread a backflow preventer onto your outdoor hose bib. This stops irrigation water from flowing back into your drinking water line.
- Attach a 150-mesh inline filter to the backflow preventer outlet.
- Connect a pressure regulator set to 25–30 PSI after the filter.
- Thread your 4-port manifold onto the pressure regulator outlet.
- Attach 3/4-inch poly main line tubing to each manifold port.
- Run each main line to the target bed or zone area.
- Install your timer or solenoid controller on each port or on the main line before the manifold.
Label each manifold port with the zone name (e.g., “Tomatoes,” “Lettuce,” “Herbs”) using waterproof tape. This saves time when troubleshooting in mid-season.
How Do You Configure Multiple Timers for a 4+ Zone Drip System?
Quick Answer: Use one timer per zone valve, or use a multi-zone controller. Set each timer to a different start time with no zone overlap. Most battery timers allow 1–3 programs per day, giving each zone full pressure during its run window without interference from other active zones.
Running multiple zones from one water source means you can only run one zone at a time. Water pressure is shared. If two zones run simultaneously, both drop below effective operating pressure.
The goal is to stagger start times so each zone gets its full allotment of pressure and time with no overlap.
How to Stagger Zone Run Times
Start with Zone A (highest water demand, longest run time). Set it to start first, usually early morning around 5:00 AM. Calculate how long it needs to run based on emitter output and your watering goal (in inches). Then schedule Zone B to start 30 minutes after Zone A ends, not 30 minutes after it starts.
Example schedule for a 4-zone garden:
- Zone A (tomatoes, squash): 5:00 AM, 45 minutes, every 2 days
- Zone B (beets, carrots, kale): 6:00 AM, 30 minutes, every 2 days
- Zone C (lettuce, spinach): 7:00 AM, 20 minutes, daily
- Zone D (herbs): 7:30 AM, 15 minutes, every 3 days
Multi-Zone Timer Configuration Table
| Timer Type | Zones Supported | Programs Per Day | Power Source | Price Range |
|---|---|---|---|---|
| Single-zone battery timer | 1 | 1–3 | 2 AA batteries | $20–$35 |
| Dual-zone battery timer | 2 | 2–4 | 2 AA batteries | $40–$65 |
| 4-zone indoor controller | 4 | 3 per zone | AC plug-in or battery | $55–$110 |
| 6-zone smart controller | 6 | 6 per zone | AC plug-in + Wi-Fi | $120–$200 |
| 12-zone smart controller | 12 | 6 per zone | AC plug-in + Wi-Fi | $180–$350 |
What Is a Sequential Timer and When Should You Use One?
A sequential timer is a single device that controls multiple zones in order, running them back-to-back automatically. You program a total run sequence, and the timer opens and closes each valve in turn.
Sequential timers work well when all zones need to run every day. They eliminate overlap risk by design. The downside is that zones needing less frequent watering (like herbs) still run every cycle unless the timer supports skip-day programming.
For gardens where some zones run daily and others run every two to three days, individual zone timers or a smart multi-zone controller gives more precise control.
How Do You Calculate Emitter Spacing and Number for Each Zone?
Quick Answer: Space emitters based on your soil type. Sandy soil needs emitters every 12 inches. Clay soil allows spacing up to 18 inches. For each zone, count your emitters and multiply by their GPH rating. That total must stay under 75% of your zone’s available flow rate.
Emitter spacing controls how evenly water reaches plant roots. Place emitters too far apart and you create dry zones between them. Place them too close and you waste water and create soggy patches that invite root disease.
Emitter Spacing by Soil Type and Crop
| Soil Type | Lateral Water Spread | Emitter Spacing | Best Emitter Type | Notes |
|---|---|---|---|---|
| Sandy loam | 6–8 inches | 9–12 inches apart | Inline drip tape, 0.5 GPH | Needs more emitters per bed |
| Loam (standard raised bed mix) | 10–12 inches | 12–18 inches apart | Button emitters, 1 GPH | Most common raised bed scenario |
| Clay or dense amended soil | 14–18 inches | 18–24 inches apart | Button emitters, 1–2 GPH | Risk of pooling; use lower GPH rate |
| Coco coir blend | 8–10 inches | 10–14 inches apart | Inline drip tape or micro-spray | Dries fast; increase frequency |
How to Calculate Zone Emitter Load
Here is a simple three-step check for any zone:
- Count all emitters in the zone.
- Multiply by the emitter’s GPH rating (e.g., 30 emitters × 1 GPH = 30 GPH).
- Compare to your available zone flow. If your spigot delivers 300 GPH and you have four zones, each zone has roughly 300 GPH available (since they run one at a time). Your 30 GPH emitter load is well within range.
The real concern is if you place 200 emitters rated at 2 GPH on one zone. That equals 400 GPH, which may exceed your spigot capacity or cause significant pressure drop. Split that zone in two.
How Do You Lay Out Drip Lines Across Multiple Raised Beds?
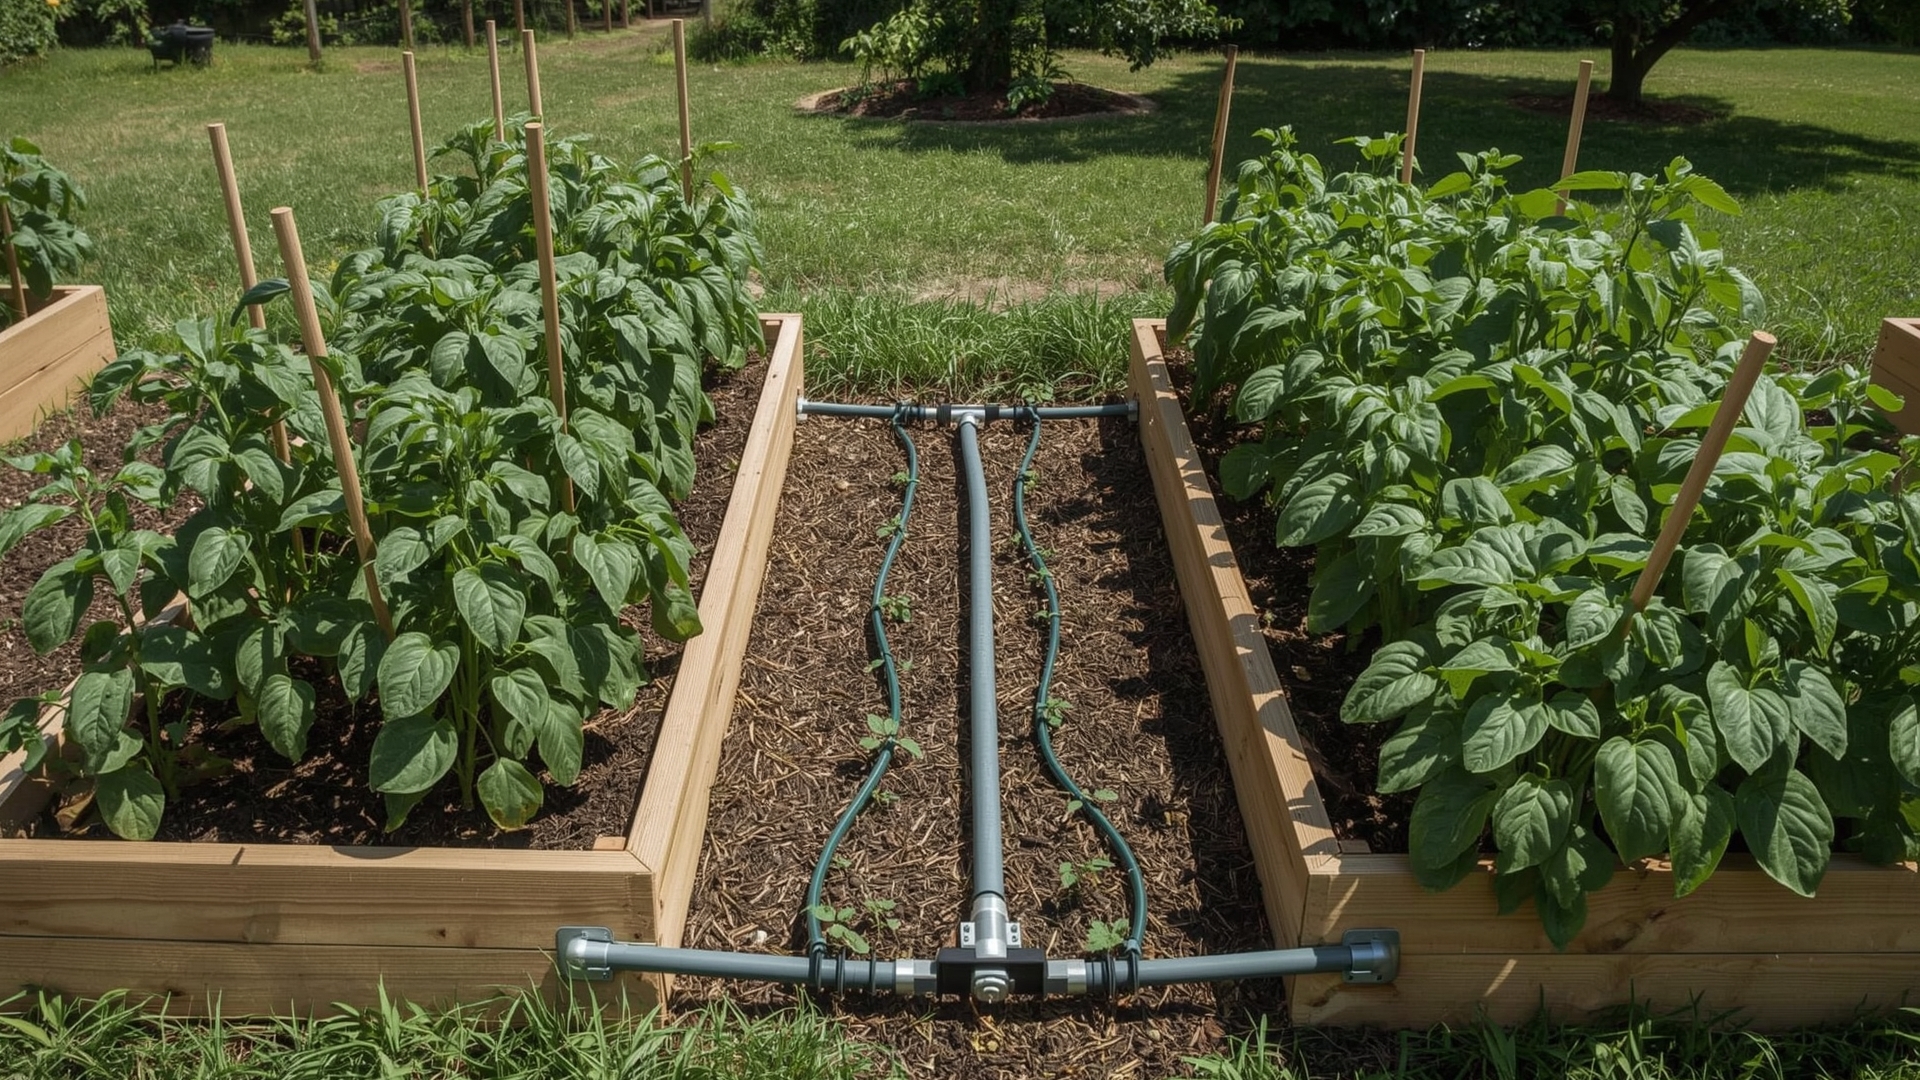
Quick Answer: Run a 3/4-inch poly main line from your manifold along the length of the garden. Use 1/2-inch header tubing into each bed. Inside each bed, run 1/4-inch drip tape or soaker lines parallel to the rows. Keep each lateral line under 150 feet.
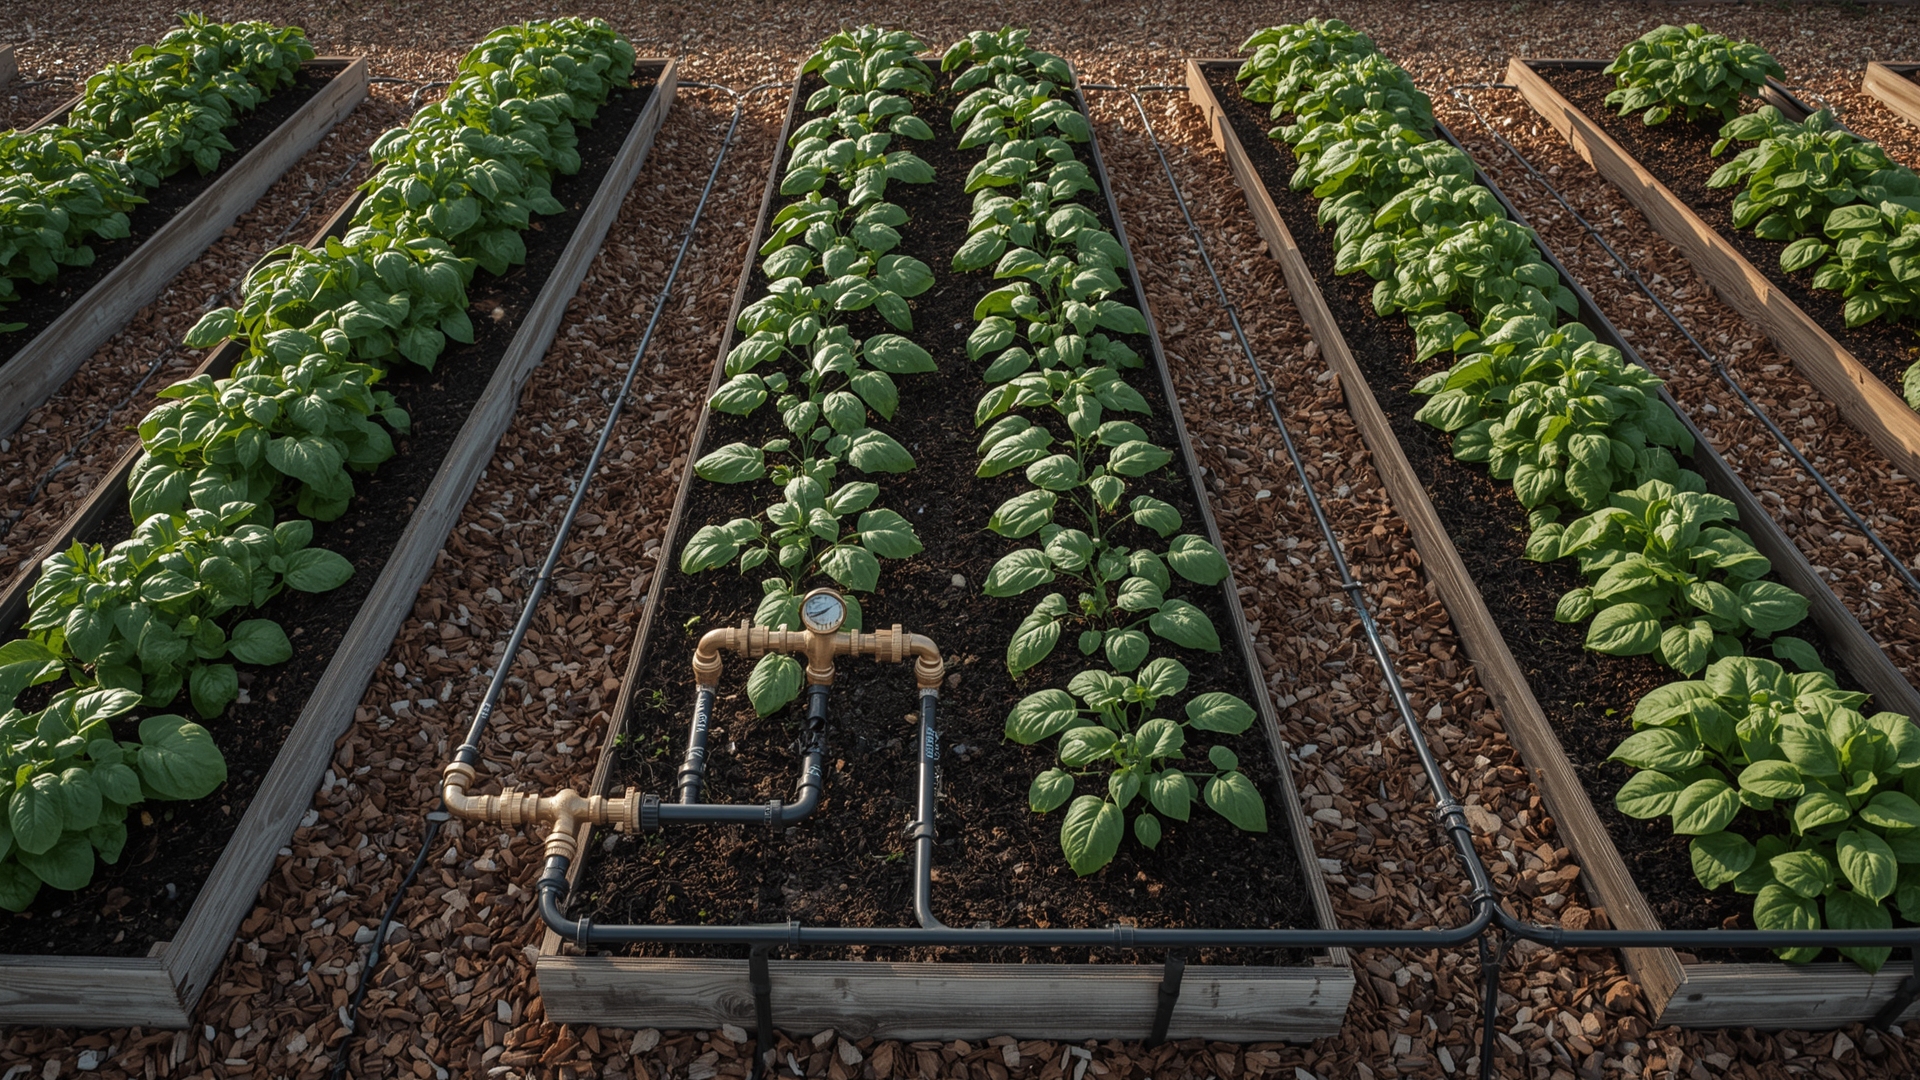
The physical layout follows a simple hierarchy: main line → bed header → lateral lines.
Zone Layout Step-by-Step
- Main line: Run 3/4-inch poly tubing from your manifold along the edge of the garden where beds are accessible. Secure it with tubing stakes every 3 to 4 feet.
- Bed connectors: Use punch-in barbed fittings to connect a 1/2-inch header line from the main line into each bed. Place a goof plug nearby for mistakes.
- Lateral drip lines: Inside the bed, run 1/4-inch drip tape or 1/2-inch soaker hose in rows parallel to the plant rows. Space rows to match your emitter spread distance.
- End caps: Fold and secure the end of each lateral line with an end cap or fold-over clip to hold pressure inside the line.
- Flush valves: Install a flush end cap or auto-flush valve at the end of each zone’s main run. Open these at the start of each season to clear debris.
How Far Apart Should Lateral Drip Lines Run in a Raised Bed?
For standard raised bed mixes, space lateral drip lines 12 to 18 inches apart. In a 4-foot-wide bed, two lateral lines spaced 16 inches apart cover the full bed width when using 1 GPH emitters in loam soil.
For dense crops like lettuce or carrots planted in offset rows, use drip tape with pre-installed emitters every 9 inches. For widely spaced crops like squash or tomatoes, use point-source button emitters placed directly at the base of each plant.
What Are Common Drip Zone Planning Mistakes and How Do You Avoid Them?
Quick Answer: The most common mistakes are running too many emitters per zone, skipping pressure regulation, mixing high- and low-water crops in one zone, and using undersized main line tubing. Each problem has a simple fix applied at the design stage before installation.
Zone Design Mistakes by Symptom
- Symptom: Some emitters drip, others barely flow. Cause: too many emitters per zone exceeding flow capacity. Fix: split the zone or reduce emitter count.
- Symptom: Emitters pop off the tubing. Cause: unregulated pressure above 40 PSI. Fix: install a 25 PSI pressure regulator at the manifold or zone head.
- Symptom: Plants at the end of the line look dry. Cause: pressure loss over a long run. Fix: use 3/4-inch main line instead of 1/2-inch, or shorten the run.
- Symptom: Herbs are overwatered and yellowing. Cause: herbs placed in the same zone as heavy-feeding vegetables. Fix: move herbs to a dedicated low-frequency zone.
- Symptom: Timer drains batteries in 2 weeks. Cause: solenoid valve draws too much current. Fix: check valve compatibility with your timer model before purchasing.
How Do You Adjust Your Drip Zones Seasonally?
Quick Answer: Adjust zone run times every 3 to 4 weeks based on season and crop stage. Seedlings need short, frequent sessions. Mature fruiting crops need longer, deeper sessions every 2 to 3 days. In peak summer heat, increase frequency by 25 to 50 percent rather than increasing run time.
Your drip system design stays the same all season. What changes is the timer schedule.
In spring, newly transplanted seedlings have shallow roots. Run zones for 10 to 15 minutes daily. By midsummer, established tomato plants benefit from 30 to 45-minute runs every two days, delivering water deep into the root zone.
Seasonal Timer Adjustment Guide
- Early spring (transplant week 1–3): Short runs daily, 10–15 minutes per zone. All zones on same frequency to keep surface moist.
- Late spring (established plants): Increase run time to 20–30 minutes. Start differentiating zone frequencies based on crop type.
- Peak summer (fruiting stage): Zone A runs 40–50 minutes every 2 days. Zone C (leafy greens) runs 15–20 minutes daily. Zone D (herbs) runs 15 minutes every 3 days.
- Late season / fall crops: Reduce frequency as temperatures drop. Add a 10-minute buffer time if days stay above 90°F.
- Winterizing: Drain all lines before first frost. Disconnect emitters and store indoors. Cap all open tubing ends.
Frequently Asked Questions
Can you run two drip zones at the same time from one hose bib?
Only if your water pressure and flow rate can handle both zones combined without dropping below 15 PSI. Most residential hose bibs supply 3 to 5 GPM (180 to 300 GPH), which is rarely enough to run two zones simultaneously without pressure loss. Run zones sequentially to maintain stable pressure at each emitter.
What is a backflow preventer and do you really need one for garden drip systems?
A backflow preventer is a one-way valve that stops water from flowing backward from your irrigation line into your home’s drinking water supply. Most local plumbing codes require one when connecting irrigation to a potable water line. They cost $8 to $20 and install in seconds. Do not skip this part.
How do you know if your drip emitters are clogged?
Check emitters while the zone is running. A clogged emitter will show no drip or a reduced trickle compared to adjacent emitters. Clogging usually comes from mineral buildup or sediment. A 150-mesh or finer inline filter at the zone head catches most particles before they reach the emitters.
Do raised beds need different emitter spacing than in-ground beds?
Yes. Raised beds use amended soil mixes that often drain faster than native soil, especially those containing perlite or coco coir. Water spreads laterally less, so emitters generally need to be placed closer together, around 10 to 14 inches apart, versus 14 to 18 inches in standard in-ground loam beds.
What size main line tubing should you use for a 4-zone garden?
Use 3/4-inch poly tubing as your main supply line if your garden spans more than 50 feet or if you have four or more zones. For shorter runs or two-zone systems, 1/2-inch tubing works fine. Undersized main line tubing is one of the most common causes of poor pressure at zone endpoints.
How often should you inspect and flush your drip irrigation system?
Flush each zone at the start of every season by opening the end caps and running the zone for two to three minutes to clear debris. Inspect emitters monthly during the growing season. Replace cracked tubing or damaged emitters immediately, since small leaks waste significant water and reduce zone pressure over time.