A clogged drip emitter can quietly kill a plant before you ever notice something is wrong. The emitter looks fine from the outside, but water stops flowing — or barely trickles — and your plants suffer in silence. The good news is that most clogged emitters can be cleaned in minutes with the right approach.
This guide walks you through every step: identifying what type of clog you have, cleaning the emitter, testing it, and deciding when cleaning isn’t enough and replacement makes more sense.
Key Takeaways
- Two clog types need different fixes: mineral deposits require a vinegar or acid soak, while sediment clogs need a physical flush or rinse.
- A flow rate test is your most reliable diagnostic tool — compare actual output against the emitter’s rated GPH (gallons per hour).
- Most emitters can be cleaned 3 to 5 times before replacement makes more sense from a cost and reliability standpoint.
- Prevention beats cleaning — a filter at the head of your system dramatically reduces clogging frequency.
- Low system pressure is often mistaken for a clog — always check pressure before disassembling emitters.
What Causes Drip Irrigation Emitters to Clog?
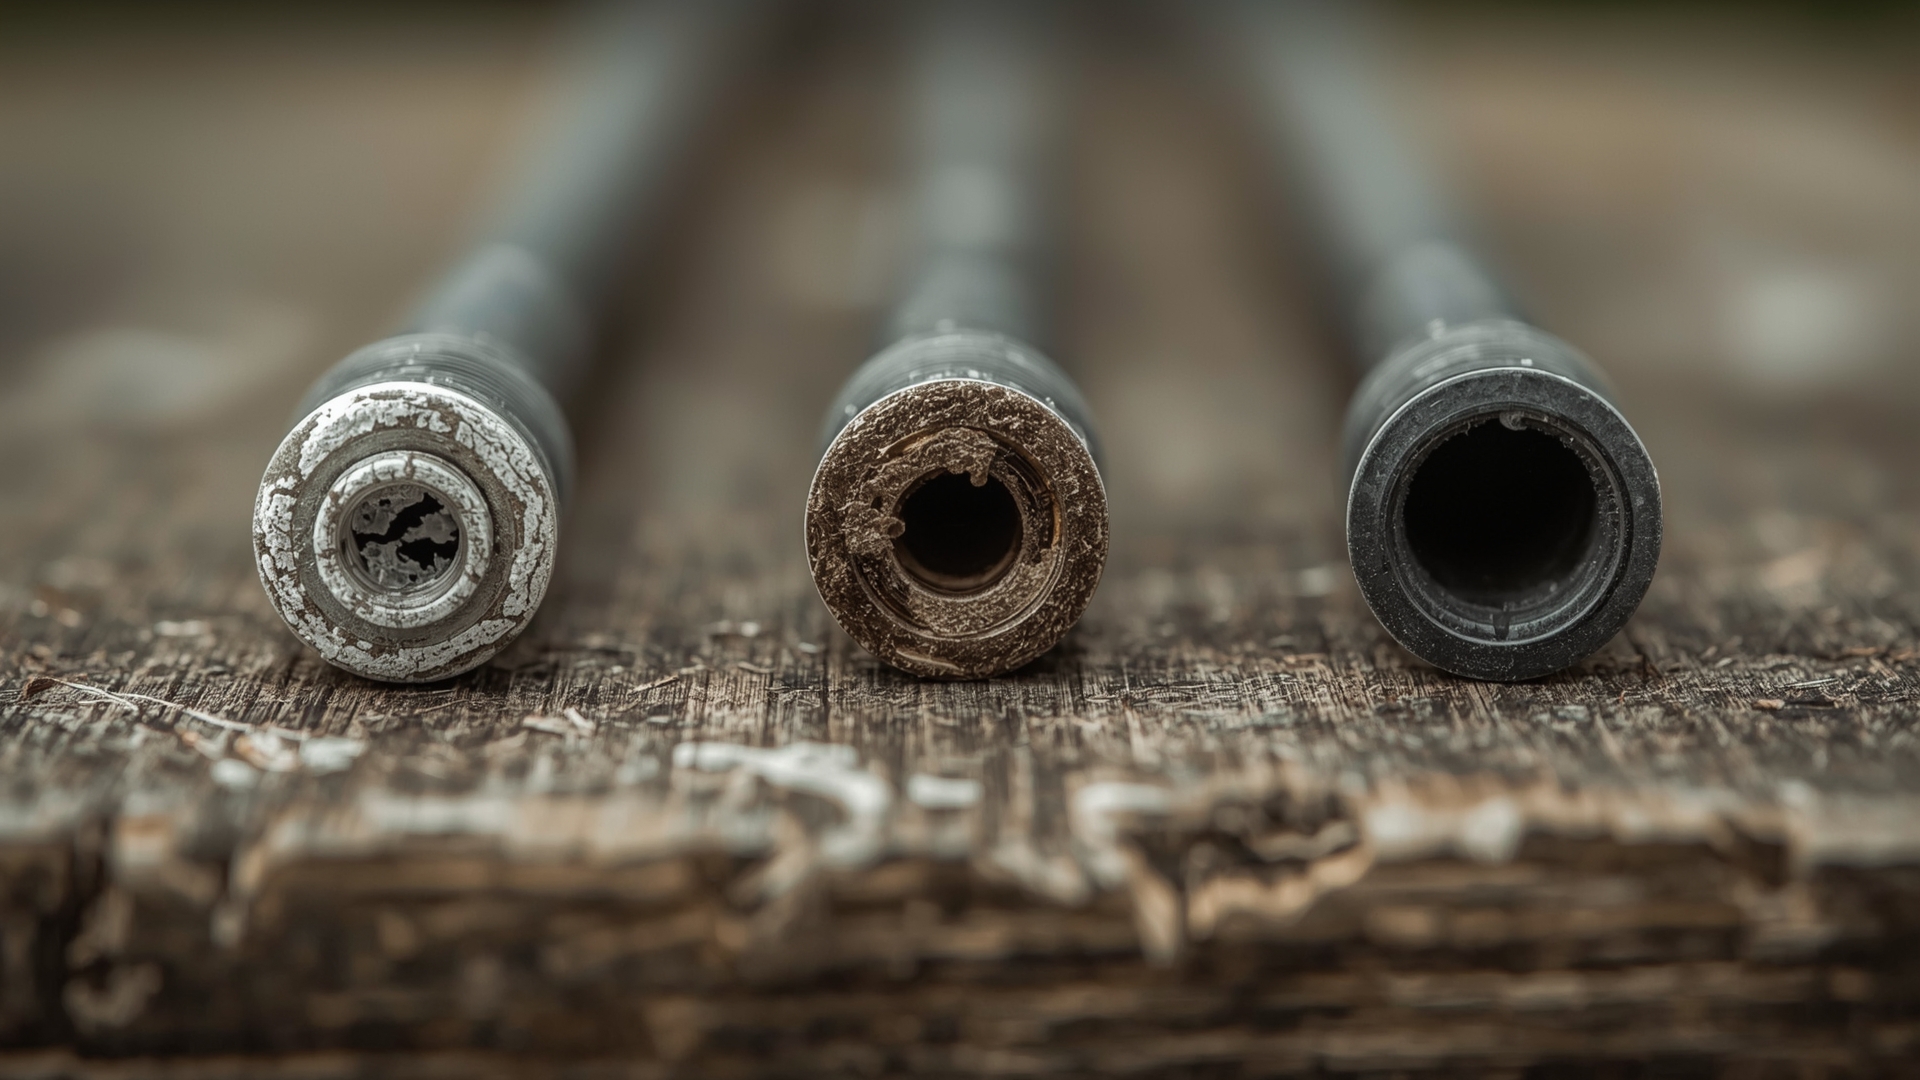
Quick Answer: Drip emitters clog from two main sources: mineral scale buildup from hard water and sediment from soil or debris entering the line. Both block the small internal orifice that controls water flow, reducing or stopping output entirely.
Drip emitters have a tiny opening — often less than 1 mm — that meters water at a precise rate. That small opening is exactly what makes emitters so accurate, and exactly what makes them vulnerable to blockage.
Understanding which type of clog you have is the most important diagnostic step, because each type requires a different cleaning method.
Mineral Scale Deposits (Hard Water Clogs)
Hard water carries dissolved calcium and magnesium. As water evaporates at the emitter tip, those minerals crystallize and build up inside the orifice. The result is a white, chalky, or crusty residue that narrows the opening over time.
You’ll recognize mineral clogs by the white or gray crust visible on or around the emitter tip. These clogs respond poorly to flushing but dissolve well in acidic solutions like white vinegar or citric acid.
Sediment and Organic Clogs
Sediment clogs come from fine particles — sand, silt, organic matter, algae, or root intrusion — entering the drip line through the water source or damaged tubing. These clogs are often tan, brown, or greenish.
Sediment responds well to flushing and physical cleaning. A clog that flushes out easily but returns quickly usually points to a filtration problem at the system head, not just a dirty emitter.
Emitter Clog Type Identification Table
| Clog Type | Visual Sign | Texture | Primary Cause | Best Cleaning Method |
|---|---|---|---|---|
| Mineral Scale | White or gray crust on tip | Hard, chalky | Hard water (high Ca/Mg) | White vinegar or citric acid soak |
| Sediment | Brown or tan buildup inside | Soft, gritty | Unfiltered water, fine particles | Flush with water, use a brush |
| Algae / Organic | Green or black slime | Slimy, film-like | UV exposure, stagnant water | Dilute bleach soak, then rinse |
| Root Intrusion | Roots emerging from emitter tip | Fibrous | Plant roots drawn to moisture | Remove roots, replace emitter |
| Debris / Insect | Small particles or insect matter | Mixed | Damaged line, no end cap | Flush, inspect tubing integrity |
How Do You Test a Drip Emitter’s Flow Rate Before Cleaning?
Quick Answer: Hold a small container under the emitter for exactly one minute while the system runs at normal pressure. Compare the water collected in ounces or milliliters against the emitter’s rated GPH. A 1 GPH emitter should deliver about 0.5 oz per minute.
Testing flow rate before and after cleaning gives you a baseline. It tells you whether you actually have a clog, how severe it is, and whether your cleaning effort worked.
Flow Rate Test: Step-by-Step
- Run your irrigation system at its normal operating pressure (usually 15 to 30 PSI for drip systems).
- Hold a measuring cup or small container directly under the emitter for exactly 60 seconds.
- Record the volume collected in milliliters or fluid ounces.
- Convert to GPH: multiply ml collected by 0.0158 to get GPH, or use the conversion: 1 GPH = 63.1 ml per minute.
- Compare your result to the emitter’s rated GPH, which is usually printed on the emitter body or packaging.
Flow Rate Benchmarks by Emitter Type
| Emitter Type | Rated GPH | Expected ml/min | Clean Threshold (%) | Replace Threshold (%) |
|---|---|---|---|---|
| Standard Fixed | 0.5 GPH | 31.5 ml/min | Below 80% rated | Below 50% rated |
| Standard Fixed | 1 GPH | 63.1 ml/min | Below 80% rated | Below 50% rated |
| Standard Fixed | 2 GPH | 126.2 ml/min | Below 80% rated | Below 50% rated |
| Pressure Compensating | 1 GPH | 63.1 ml/min | Below 85% rated | Below 60% rated |
| Adjustable | 0–10 GPH variable | Varies by setting | No flow at any setting | Dial broken or stripped |
If your emitter delivers within 10% of its rated flow, it’s performing normally. If output drops below 80% of the rated GPH, cleaning is warranted. Below 50% after cleaning usually means replacement is the better call.
What Tools Do You Need to Clean Drip Emitters?
Quick Answer: You need white vinegar or citric acid for mineral clogs, a soft-bristle brush, a thin wire or emitter pick for clearing the orifice, a small container for soaking, and clean water for rinsing. A measuring cup helps confirm flow rate after cleaning.
Most cleaning supplies cost under $5 and are likely already in your home. The process doesn’t require specialized plumbing tools for standard emitter types.
Cleaning Supplies Checklist
- White vinegar (5% acidity) or citric acid solution (1 tablespoon per cup of water)
- Small container or bowl for soaking
- Soft-bristle toothbrush or parts-cleaning brush
- Emitter pick or a single strand of wire (like a twist tie)
- Measuring cup or graduated cylinder
- Clean water for rinsing
- Optional: diluted bleach solution (1 part bleach to 10 parts water) for algae clogs
How Do You Clean a Clogged Drip Emitter Step by Step?
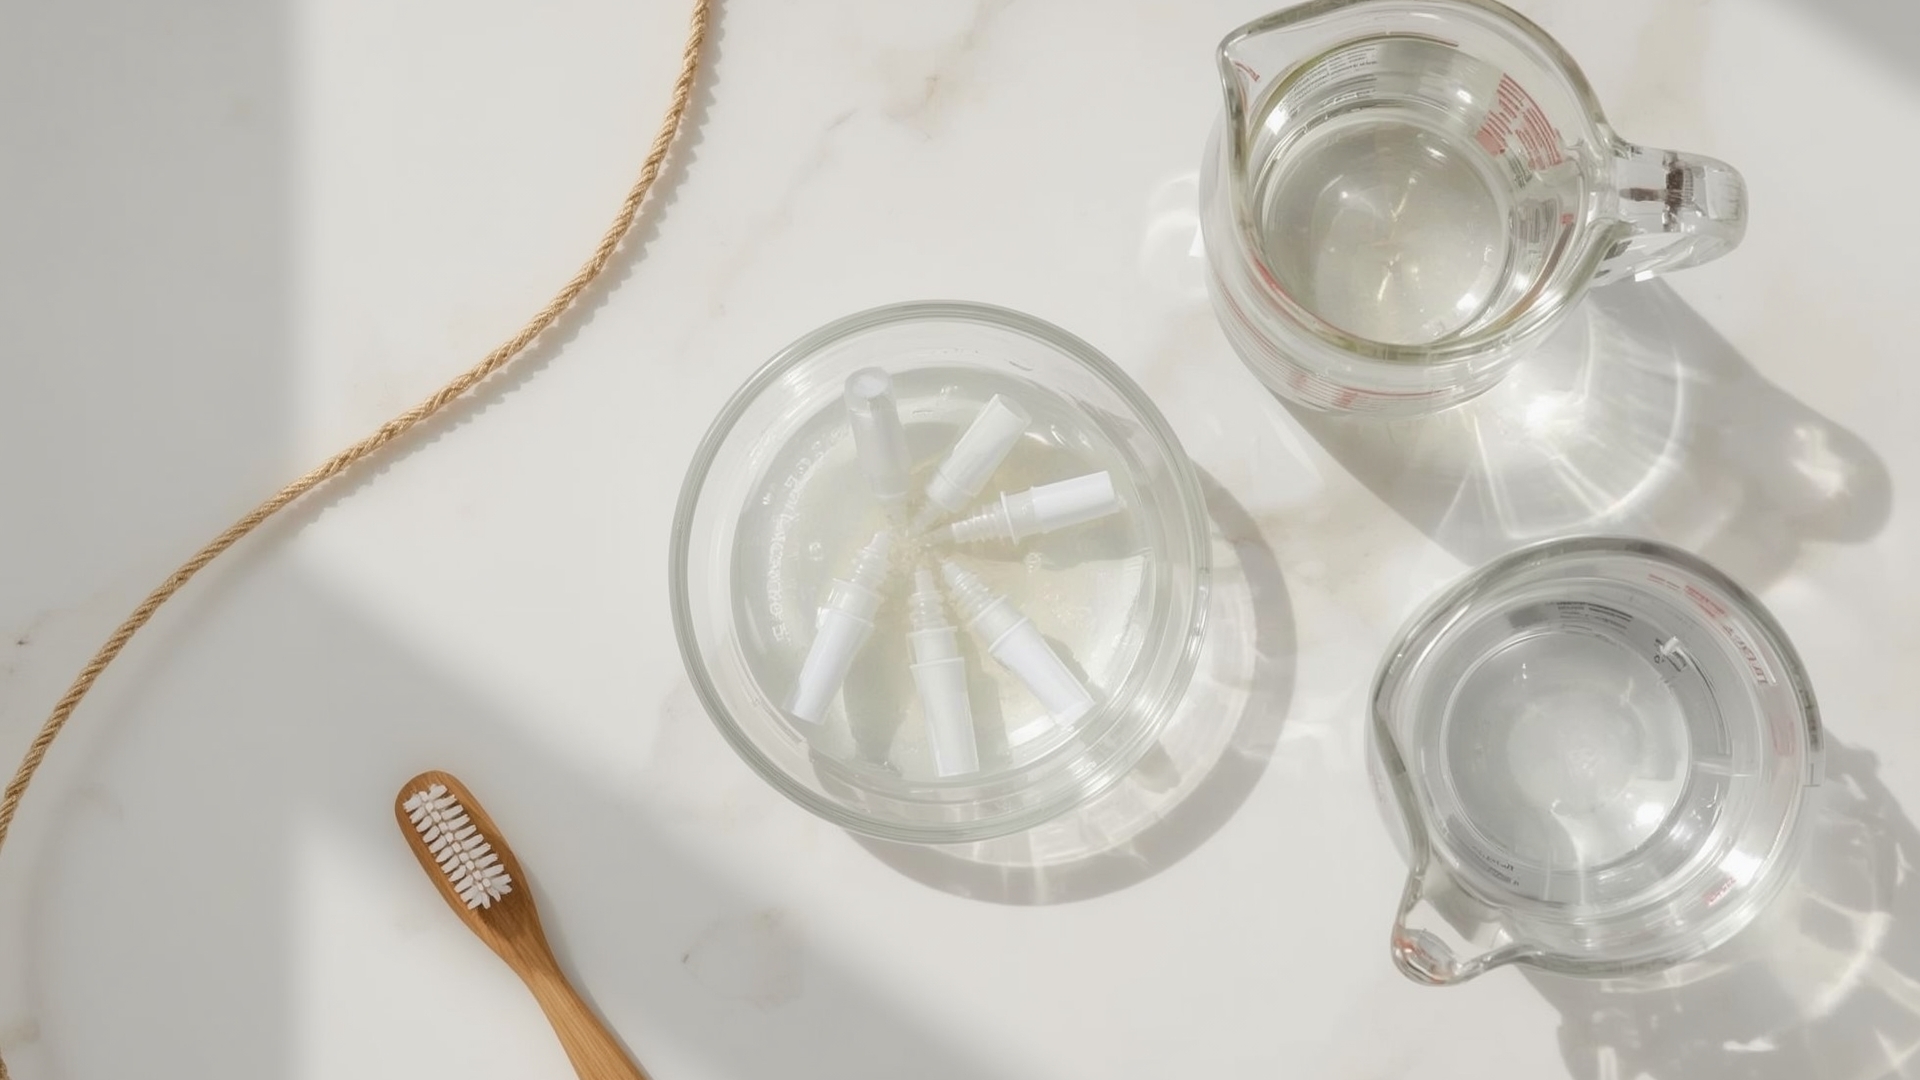
Quick Answer: Remove the emitter, soak it in white vinegar for 30 minutes to dissolve mineral scale, scrub with a soft brush, use a thin wire to clear the orifice, rinse with clean water, and reinstall. Then run the system to verify restored flow.
The cleaning process takes about 45 minutes per batch of emitters, most of that being soak time. You can clean multiple emitters at once in the same container.
Step 1: Remove the Emitter from the Drip Line
Turn off your irrigation system completely before removing any emitters. Most emitters twist counterclockwise to release from the barb fitting. If the emitter is stake-mounted, pull the stake from the soil first, then disconnect the emitter from the tubing.
Keep track of where each emitter came from. Emitter ratings vary across a system — a 0.5 GPH emitter near a small herb is not interchangeable with a 2 GPH emitter by a tomato plant.
Step 2: Rinse Under Running Water
Hold the emitter under a running tap and flush it in both directions. This dislodges loose sediment before soaking. If the clog is purely sediment, this step alone may restore flow.
Step 3: Soak in Vinegar or Cleaning Solution
Place emitters in a bowl of undiluted white vinegar. For mineral scale, soak for 30 to 60 minutes. For stubborn scale, extend the soak to 2 hours — but don’t exceed 4 hours, as prolonged acid exposure can degrade rubber components inside pressure-compensating emitters.
For algae or organic clogs, substitute a diluted bleach solution (1:10 ratio). Soak for 15 to 20 minutes, not longer. Bleach degrades plastic and rubber faster than vinegar.
Step 4: Scrub and Clear the Orifice
After soaking, scrub the emitter body with a soft-bristle brush. Pay close attention to the inlet and outlet openings. Use a thin wire — a straightened twist tie works well — to gently probe the orifice and clear any remaining blockage. Don’t force the wire or use anything rigid enough to enlarge the hole.
Step 5: Rinse Thoroughly
Rinse the emitter under clean running water for at least 30 seconds. Hold it up to light and look through the orifice. You should be able to see light passing through a clear, unobstructed opening.
Step 6: Reinstall and Test Flow
Reinstall the emitter onto the barb fitting, pressing firmly until you feel it click or seat securely. Run the system and perform a flow rate test. Compare the output to the emitter’s rated GPH. If flow is within 10% of rated, the cleaning was successful.
How Do You Flush an Entire Drip Line Instead of Individual Emitters?
Quick Answer: Remove the end caps from your drip tubing, run the system at full pressure for 2 to 3 minutes, and let water flush sediment out through the open ends. This clears sediment from the line before it reaches and re-clogs individual emitters.
Flushing the line is a maintenance step, not a replacement for cleaning individual emitters. It works best as a preventive measure done two to four times per irrigation season — at startup, midseason, and before winterization.
Line Flushing Process
- Locate and remove the end caps or flush valves at the far ends of each drip line.
- Turn on the system at full operating pressure.
- Let water run freely from the open ends for 2 to 3 minutes until it runs clear.
- Replace end caps and return to normal operation.
- Check individual emitters immediately after flushing — disturbed sediment can briefly increase downstream clogging.
What Is the Difference Between Cleaning and Replacing a Drip Emitter?
Quick Answer: Clean an emitter when flow drops below rated output but the emitter body is intact. Replace it when the orifice is physically damaged, the casing is cracked, flow doesn’t recover after two cleaning attempts, or the emitter has been cleaned more than five times.
Emitters are inexpensive — most standard fixed emitters cost $0.10 to $0.50 each. Pressure-compensating emitters run $0.50 to $2.00 each. Spending time on repeated cleaning of a $0.25 emitter rarely makes economic sense past the third or fourth attempt.
Repair vs. Replace Decision Table
| Condition | Action | Reason |
|---|---|---|
| Flow below 80% of rated GPH, body intact | Clean | Likely mineral or sediment clog — reversible |
| Flow restored after first or second cleaning | Keep and monitor | Emitter is still functional |
| Flow not restored after two cleaning attempts | Replace | Internal damage or irreversible blockage |
| Cracked or split casing | Replace immediately | Structural failure causes uncontrolled water release |
| Root intrusion inside emitter | Replace | Roots compromise internal components |
| Cleaned 4 or more times in one season | Replace | System problem causing chronic clogging — also address filtration |
| Emitter is 5+ years old with frequent clogs | Replace | End of useful service life for most standard emitters |
How Do You Diagnose Low Flow That Isn’t Caused by a Clogged Emitter?
Quick Answer: Low system pressure, a clogged filter, a kinked supply line, or an undersized backflow preventer can all reduce flow at every emitter simultaneously. Check system pressure with a gauge at the header before assuming individual emitters are clogged.
This is one of the most common diagnostic mistakes. Homeowners remove and soak emitters that are perfectly clean, only to find the same low-flow problem after reinstallation. The real issue is upstream.
Common Non-Emitter Causes of Low Flow
- Low inlet pressure: Drip systems need 15 to 30 PSI to function accurately. Pressure below 10 PSI causes all emitters to underperform simultaneously.
- Clogged inline filter or Y-strainer: The filter at the system head collects debris before it reaches emitters. A clogged filter reduces flow to the entire zone.
- Kinked or pinched tubing: Tubing buried under mulch can kink seasonally. Trace the line physically before diagnosing emitters.
- Pressure regulator failure: A faulty pressure regulator may restrict flow to near-zero even when inlet pressure is adequate.
- Zone valve not fully opening: A partially closed valve or failing solenoid reduces zone flow across all emitters in that zone.
System Pressure Diagnostic Steps
- Attach a pressure gauge to the hose bib or system header connection.
- Run the irrigation zone and read the operating pressure.
- If pressure reads below 12 PSI, the problem is upstream — not the emitters.
- Check and clean the inline filter or Y-strainer next.
- Inspect tubing for kinks, starting at the header and working toward the end caps.
How Often Should You Clean and Inspect Drip Emitters?
Quick Answer: Inspect emitters visually at the start of each irrigation season and after every 200 to 250 hours of system runtime. In hard-water areas (above 200 ppm total dissolved solids), clean every 60 to 90 days during the active growing season.
Most drip systems run 20 to 40 minutes per zone, several times per week. That adds up to roughly 80 to 120 hours of runtime per season. High-mineral water areas hit the 200-hour threshold faster than low-mineral areas.
Seasonal Maintenance Schedule
| Time of Year | Task | Priority |
|---|---|---|
| Season startup (spring) | Flush all lines, inspect all emitters, replace damaged emitters, clean filter | High |
| Every 60 days (active season) | Visual inspection of emitter output during a run cycle | Medium |
| Midseason | Flow rate test on any emitter with visible output change, clean as needed | Medium |
| Before winterization | Full system flush, remove and store pressure-compensating emitters in hard-freeze zones | High |
| After any water outage or pressure surge | Flush lines, check all emitters for debris introduced by pressure change | High |
How Do You Prevent Drip Emitters from Clogging in the First Place?
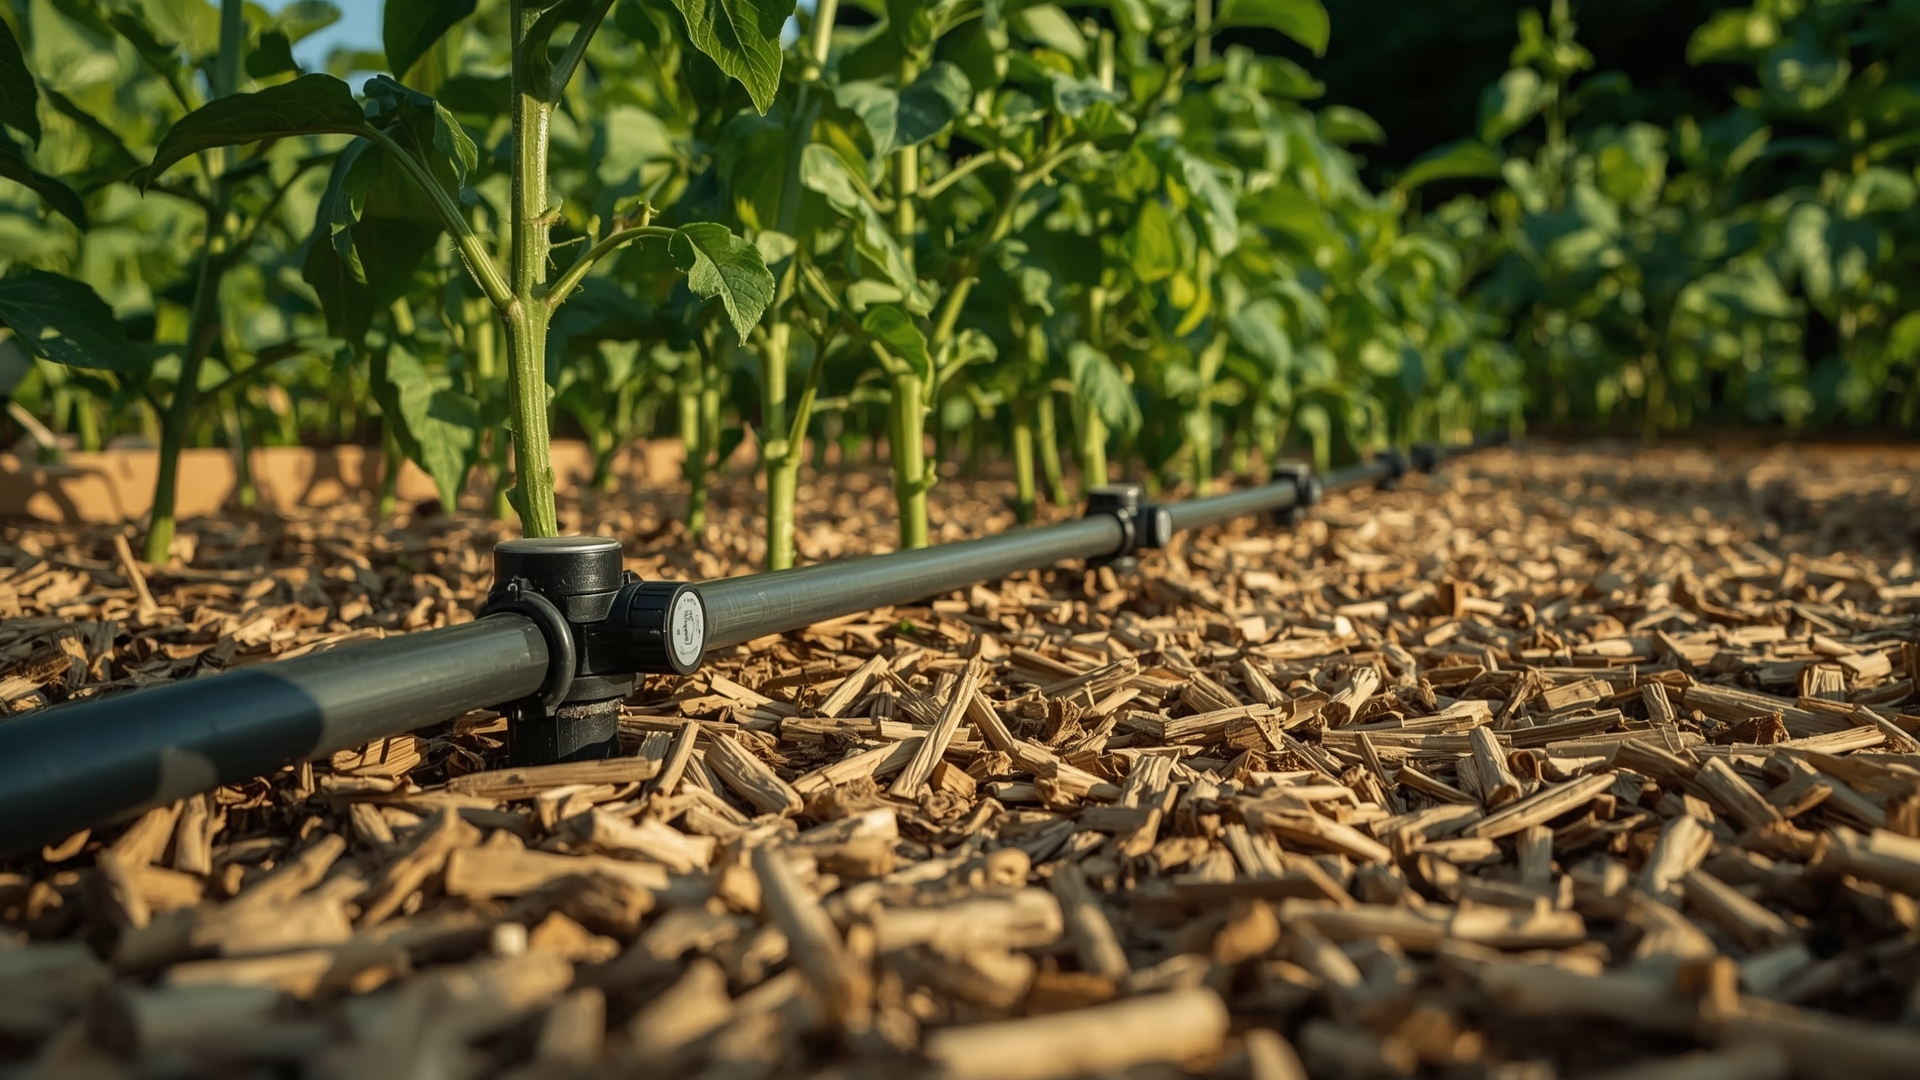
Quick Answer: Install a 150- to 200-mesh inline filter at the system head, use a pressure regulator set to 20 to 25 PSI, flush drip lines at the start and end of each season, and choose pressure-compensating emitters in systems with variable elevation or long tubing runs.
Prevention costs less than maintenance. A quality inline filter costs $10 to $20 and can reduce emitter clogging by 70 to 90% compared to an unfiltered system. That’s a strong return when you consider the time spent cleaning or replacing emitters.
Prevention Measures and Their Impact
- Inline filter (150 to 200 mesh): Catches fine particles before they reach emitters. Clean or replace the filter screen every 30 to 60 days.
- Pressure regulator (20 to 25 PSI): Prevents high-pressure surges that can push debris through emitter orifices.
- Seasonal line flushing: Removes accumulated sediment from inside the tubing before it migrates to emitters.
- Flush valves at line ends: Automatic flush valves release sediment every time the system starts, reducing buildup between manual flushes.
- UV-resistant black tubing: Reduces algae growth inside lines compared to clear or non-UV-treated tubing.
- Mulch coverage over emitters: Reduces surface evaporation and mineral crystallization at emitter tips by keeping the tip slightly cooler and shaded.
When Should You Call a Professional Instead of Cleaning Emitters Yourself?
Quick Answer: Call a professional when system-wide low flow persists after cleaning filters and checking pressure, when the main supply line shows damage, or when your system has more than 6 zones and troubleshooting reveals inconsistent pressure across zones pointing to design problems.
DIY cleaning handles the vast majority of emitter problems. But some issues point to system-level design flaws that cleaning will never fix. Chronic clogging that returns within weeks, extreme pressure variation between zones, or widespread emitter failure across an entire system usually signals an irrigation design problem.
A licensed irrigation professional can pressure-test the entire system, identify hydraulic design issues, and recommend emitter upgrades or filtration improvements that solve chronic clogging at the source.
Frequently Asked Questions
Can I use a pressure washer to clean drip emitters?
No. Pressure washers generate far more force than drip emitter orifices can handle. High pressure can deform or enlarge the opening, ruining the emitter’s ability to deliver a precise flow rate. Stick to running tap water and a soft brush.
Why does one emitter clog repeatedly while others stay clear?
One emitter that clogs more often than others is usually at the end of a long tubing run. Sediment that travels through the line settles at the lowest-flow point — typically the last emitter. Check your line length and pressure, and consider adding a flush valve at that end of the line.
Do pressure-compensating emitters clog less than standard emitters?
Pressure-compensating (PC) emitters have an internal diaphragm that maintains consistent flow across a range of pressures. That diaphragm adds one more internal component that can trap debris, so PC emitters can actually clog in different ways than standard fixed emitters. They need the same filtration and maintenance schedule.
How do I know if my water has too many minerals for drip irrigation?
Water hardness above 150 ppm (parts per million) total dissolved solids will cause visible mineral scale on emitter tips within one growing season. Your local water utility publishes annual water quality reports with TDS and hardness data. You can also use a simple water hardness test strip available at hardware stores for under $10.
Can I use a drip system with well water without clogging problems?
Yes, but well water often carries more sediment, iron, and organic matter than municipal water. You’ll need a more robust filtration setup — typically a 150-mesh sediment filter plus a secondary filter if iron content is high. Have your well water tested to understand the specific mineral load before choosing emitter types.
What is the service life of a standard drip emitter?
Most standard fixed-rate emitters last 3 to 7 years under normal operating conditions. Pressure-compensating emitters typically last 5 to 10 years, but the internal diaphragm degrades faster in UV-exposed or high-pressure installations. Replacing the entire system’s emitters as a batch every 5 to 6 years is often more cost-effective than individual spot replacement.