Compost is the single best thing you can add to a vegetable garden bed. It feeds your soil, improves drainage, holds moisture, and supports the microbes that make nutrients available to plant roots. But using it correctly makes a real difference. Too little and you miss the benefit. Too much and you can cause problems. Applied at the wrong time and you waste effort.
This guide covers how to apply compost to in-ground vegetable garden beds — including how much to use, when to apply it, and which methods work best for different situations. This is distinct from raised bed soil preparation, which has its own set of ratios and recipes. Here the focus is on working compost into an existing, living garden system.
Key Takeaways
- Apply 1 to 3 inches of compost per season for most in-ground vegetable beds — more for depleted or clay-heavy soils.
- Fall and early spring are the best times to apply compost, giving it time to integrate before planting.
- Three main methods exist: pre-season incorporation, top-dressing around growing plants, and compost tea for a liquid boost.
- Finished compost only — unfinished compost can burn roots, deplete nitrogen, and introduce weed seeds.
- Compost is not a complete fertilizer. It improves soil structure and adds slow-release nutrients, but heavy feeders like corn and tomatoes often still need supplemental nitrogen.
- Soil testing every 2 to 3 years helps you calibrate compost rates and catch nutrient imbalances before they affect your harvest.
What Does Compost Actually Do for Vegetable Garden Soil?
Quick Answer: Compost adds organic matter that improves soil structure, drainage, and nutrient availability. It feeds beneficial microbes, loosens clay, and helps sandy soil hold water — making it easier for vegetable roots to grow and absorb nutrients.
Healthy vegetable soil is more than just dirt. It’s a living system full of bacteria, fungi, earthworms, and other organisms that break down organic matter into forms plants can use. Compost fuels that system.
When you add compost to a vegetable bed, several things happen at once. Clay soils become easier to dig and drain better. Sandy soils gain the ability to hold moisture between waterings. And the microbial population in your soil gets a direct food source, speeding up the natural nutrient cycle.
Compost also raises the cation exchange capacity (CEC) of your soil. CEC is a measure of how well soil holds onto nutrients like calcium, potassium, and magnesium. Higher CEC means fewer nutrients leach away during rain or irrigation, so more stays available for plant roots.
What Nutrients Does Compost Provide?
Compost supplies a wide range of macro and micronutrients, but in relatively modest amounts. It’s a slow-release source, not a quick fix. The actual nutrient content depends on what went into the compost pile — kitchen scraps, yard waste, manure, and so on.
| Nutrient | Typical Range (% dry weight) | Role in Vegetable Growth |
|---|---|---|
| Nitrogen (N) | 0.5% to 2.5% | Leaf and stem growth |
| Phosphorus (P) | 0.2% to 1.0% | Root development, fruiting |
| Potassium (K) | 0.3% to 1.5% | Disease resistance, water regulation |
| Calcium (Ca) | 1.0% to 3.5% | Cell wall strength, prevents blossom end rot |
| Magnesium (Mg) | 0.2% to 0.6% | Chlorophyll production, enzyme activation |
| Organic Matter | 25% to 60% | Soil structure, microbial fuel, water retention |
How Much Compost Should You Apply to a Vegetable Garden Bed?
Quick Answer: Apply 1 to 3 inches of compost per season for most vegetable beds. New or depleted beds benefit from the higher end. Established, healthy beds usually need just 1 inch. Over-applying can raise pH too high or oversupply phosphorus.
The right amount depends on your soil’s starting condition. A bed that has never been amended is different from one that has received compost every year for five seasons. Use your soil’s current condition as the guide.
Compost Application Rates by Soil Type and Condition
| Soil Condition | Recommended Depth | Volume Per 100 sq ft | Notes |
|---|---|---|---|
| New bed, native soil (clay or sandy) | 3 inches | 25 cubic feet (~1 cubic yard) | Incorporate to 6 to 8 inches depth |
| Established bed, not amended in 2+ years | 2 inches | 17 cubic feet | Incorporate or top-dress |
| Annually amended, good structure | 1 inch | 8 cubic feet | Top-dress is sufficient |
| Depleted bed after heavy-feeding crops | 2 to 3 inches | 17 to 25 cubic feet | Add before fall cover crop or spring prep |
| Beds growing root vegetables (carrots, parsnips) | 1 inch | 8 cubic feet | Avoid fresh or coarse compost near seeding |
For reference, a standard wheelbarrow holds about 3 cubic feet. A 4×8-foot bed (32 square feet) needs roughly 8 cubic feet of compost for a 3-inch application, or about 2.5 to 3 wheelbarrow loads.
Can You Apply Too Much Compost?
Yes. Over-application is a real issue, especially in smaller backyard beds. Applying more than 3 to 4 inches per year can push soil phosphorus to excessive levels. High phosphorus blocks plant uptake of zinc, iron, and manganese. It can also raise soil pH over time in naturally neutral soils.
If you’ve applied heavy amounts of compost for several years in a row, consider getting a soil test before adding more. Testing every 2 to 3 years is a good habit regardless.
When Is the Best Time to Add Compost to Vegetable Beds?

Quick Answer: Fall and early spring are the two best windows. Fall application lets compost integrate over winter. Early spring application — 2 to 4 weeks before planting — gives microbes time to activate. Mid-season top-dressing works well for heavy-feeding crops like tomatoes and squash.
Fall Application: The Best Long Window
Adding compost in the fall — after harvest and before the ground freezes — gives it the most time to integrate. Earthworms and microbes continue working even in cool temperatures. By spring, the organic matter is partially broken down and nutrients are more available.
Fall is also a good time to add thicker layers (2 to 3 inches) without worrying about root burn, since no crops are actively growing. You can leave it on the surface or incorporate it lightly.
Spring Application: Timing Before Planting
If you missed fall, apply compost in early spring as soon as the soil is workable. Work it in 2 to 4 weeks before your transplant date. This gives soil microbes time to resume activity and begin releasing nutrients.
Avoid applying compost and transplanting on the same day. Freshly turned soil is loose and airy, which can leave roots hanging in air pockets instead of making solid contact with soil particles.
Mid-Season Top-Dressing: Supporting Growing Crops
Top-dressing means spreading compost around the base of growing plants without digging it in. This method works well during the growing season when you don’t want to disturb roots. Apply a half-inch to 1-inch layer around plants, keeping it a few inches away from the main stem.
Tomatoes, cucumbers, squash, and peppers respond well to a mid-season top-dress around 4 to 6 weeks after transplanting. Rain and irrigation gradually move nutrients down into the root zone.
| Timing | Method | Depth | Best For |
|---|---|---|---|
| Fall (post-harvest) | Surface spread or light incorporation | 2 to 3 inches | All vegetable beds, soil building |
| Early spring (4 weeks before planting) | Incorporation to 6 inches | 1 to 2 inches | Pre-plant prep for all crops |
| At transplanting | Hole amendment or surface spread | 0.5 to 1 inch | Tomatoes, peppers, squash starts |
| Mid-season (4 to 6 weeks after transplant) | Top-dressing | 0.5 to 1 inch | Heavy feeders: tomatoes, corn, cucumbers |
| Post-harvest cleanup | Surface spread before cover cropping | 1 to 2 inches | Beds prepping for next season |
What Are the Best Methods for Applying Compost to Vegetable Beds?
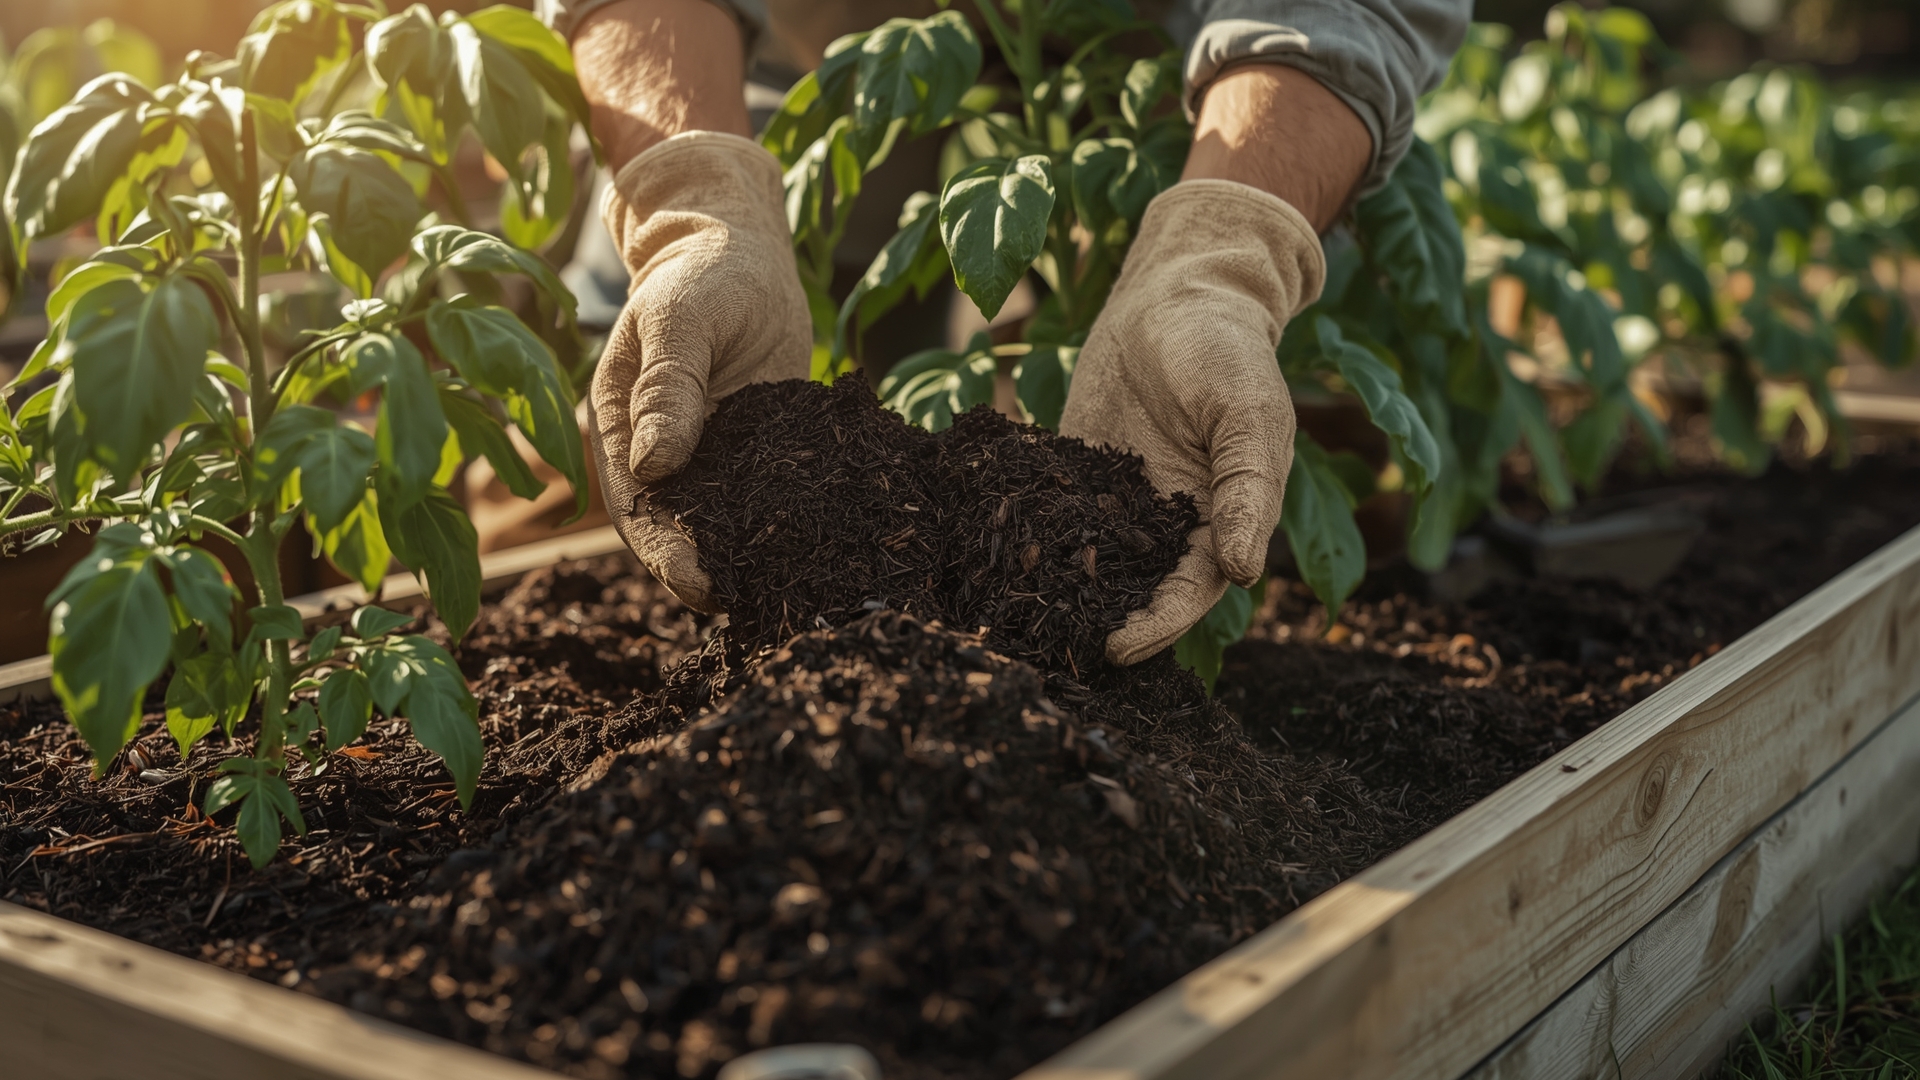
Quick Answer: The three main methods are incorporation (digging compost into the top 6 to 8 inches), top-dressing (spreading on the surface around growing plants), and compost tea (a liquid extract applied to soil or foliage). Each method suits different timing and crop stages.
Method 1: Pre-Season Incorporation
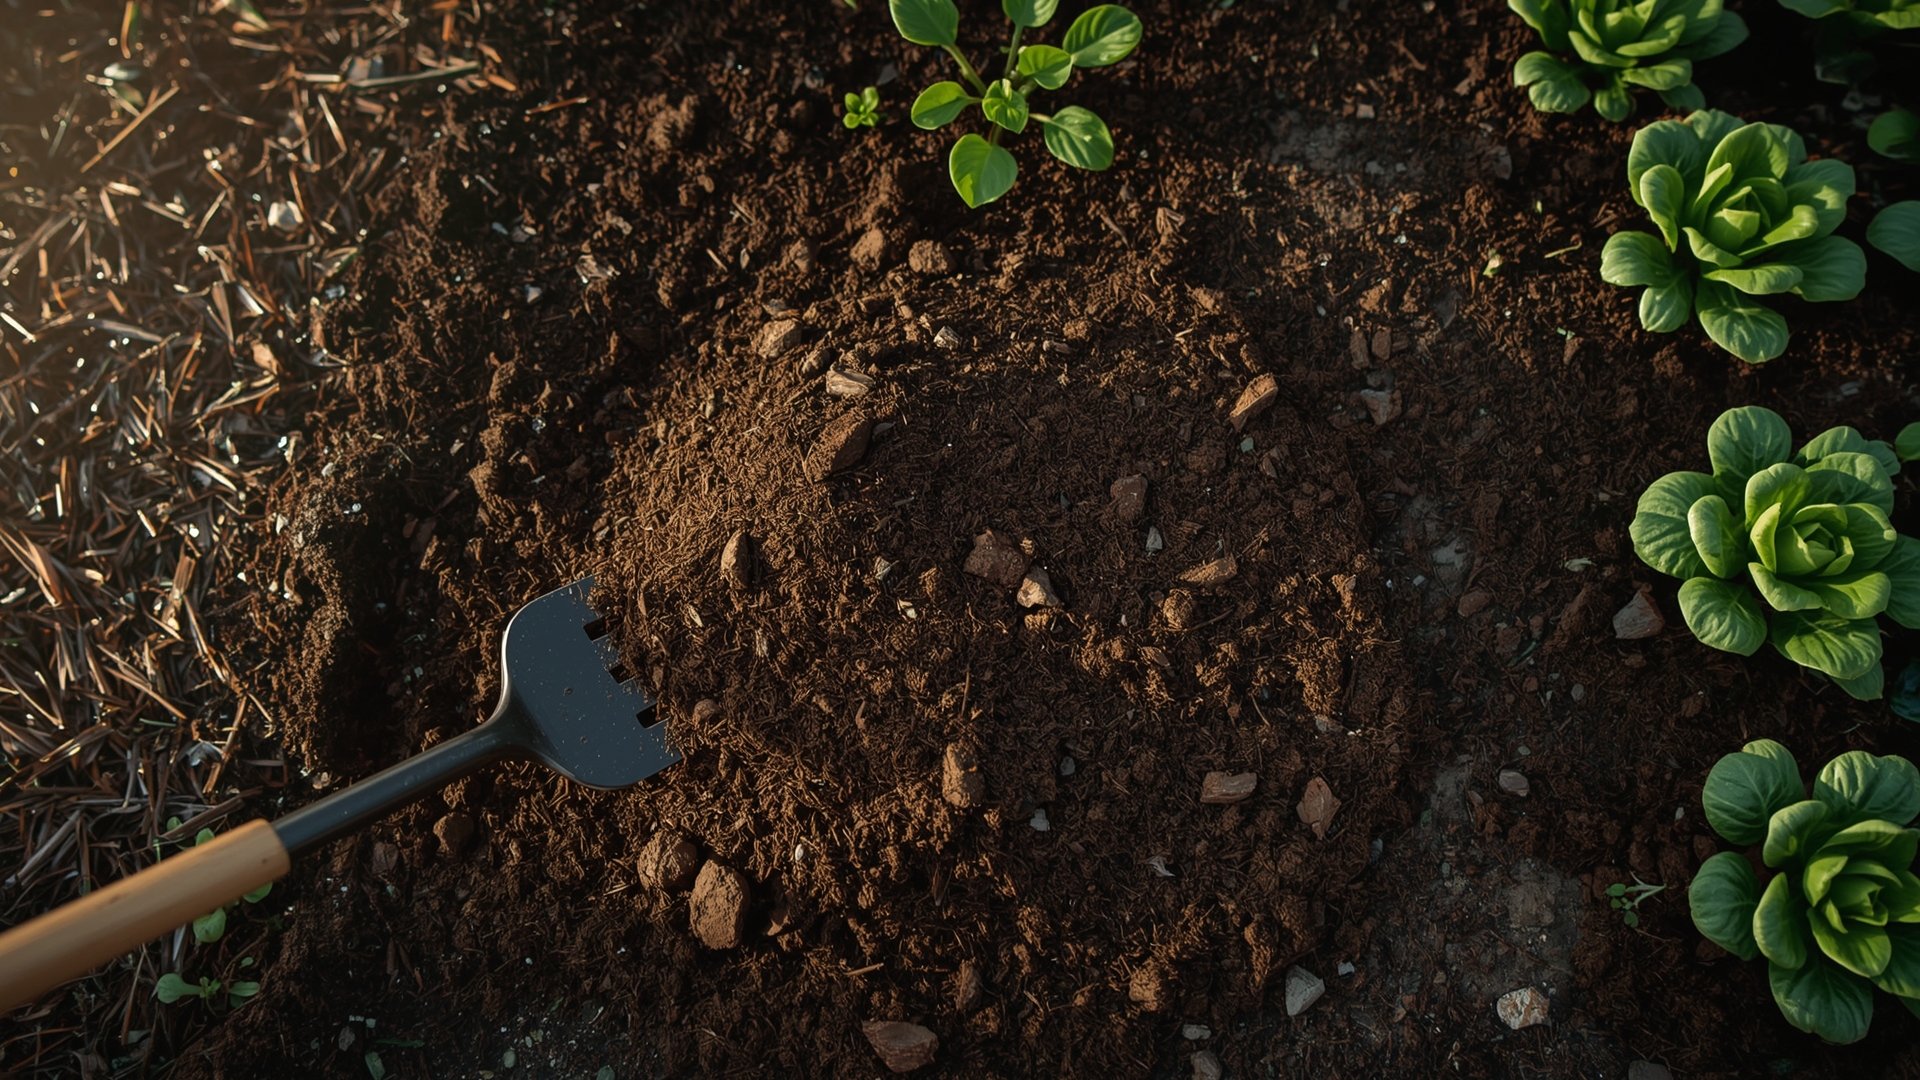
This is the most effective method for improving soil structure. You spread compost over the bed surface and use a garden fork or broadfork to work it into the top 6 to 8 inches of soil.
A broadfork (a long-handled fork with two handles and wide tines) loosens soil with minimal disruption to the soil structure. It’s gentler than rototilling, which can destroy fungal networks and break down soil aggregates over time.
Steps for pre-season incorporation:
- Clear the bed of any plant debris or spent crop material.
- Spread the measured amount of compost evenly across the surface.
- Use a broadfork or garden fork to work it in, pushing tines down 6 to 8 inches and rocking gently.
- Rake the surface level, then let the bed settle for 1 to 2 weeks before planting.
Method 2: Top-Dressing Around Growing Plants
Top-dressing is the go-to method during the active growing season. You apply a thin layer (0.5 to 1 inch) of finished compost around the base of plants. Don’t pile it against stems — leave a 2 to 3 inch gap to prevent rot and pest habitat.
Top-dressing also acts as a light mulch. It slows moisture evaporation and moderates soil temperature. In summer, this double benefit makes it worth applying even if you already incorporated compost in spring.
Method 3: Compost Tea as a Liquid Soil Drench
Compost tea is made by steeping finished compost in water for 24 to 48 hours, sometimes with aeration. The result is a liquid rich in beneficial microbes and soluble nutrients. It’s applied directly to soil at the base of plants or used as a foliar spray on leaves.
Compost tea doesn’t replace solid compost application. It works best as a supplement during the growing season, especially for stressed plants or beds with low biological activity. Apply it in the morning so leaves dry before nightfall, which reduces disease risk.
Method 4: Transplant Hole Amendment
When setting out transplants (tomatoes, peppers, eggplant), add a small handful of finished compost to the bottom of the planting hole before setting in the rootball. Mix it with the existing soil so roots aren’t sitting in a concentrated pocket of compost.
This method gives transplants a localized nutrient boost right where new roots will grow. It’s especially effective in soils that are otherwise not yet well-amended.
How Do You Know If Your Compost Is Finished and Ready to Use?
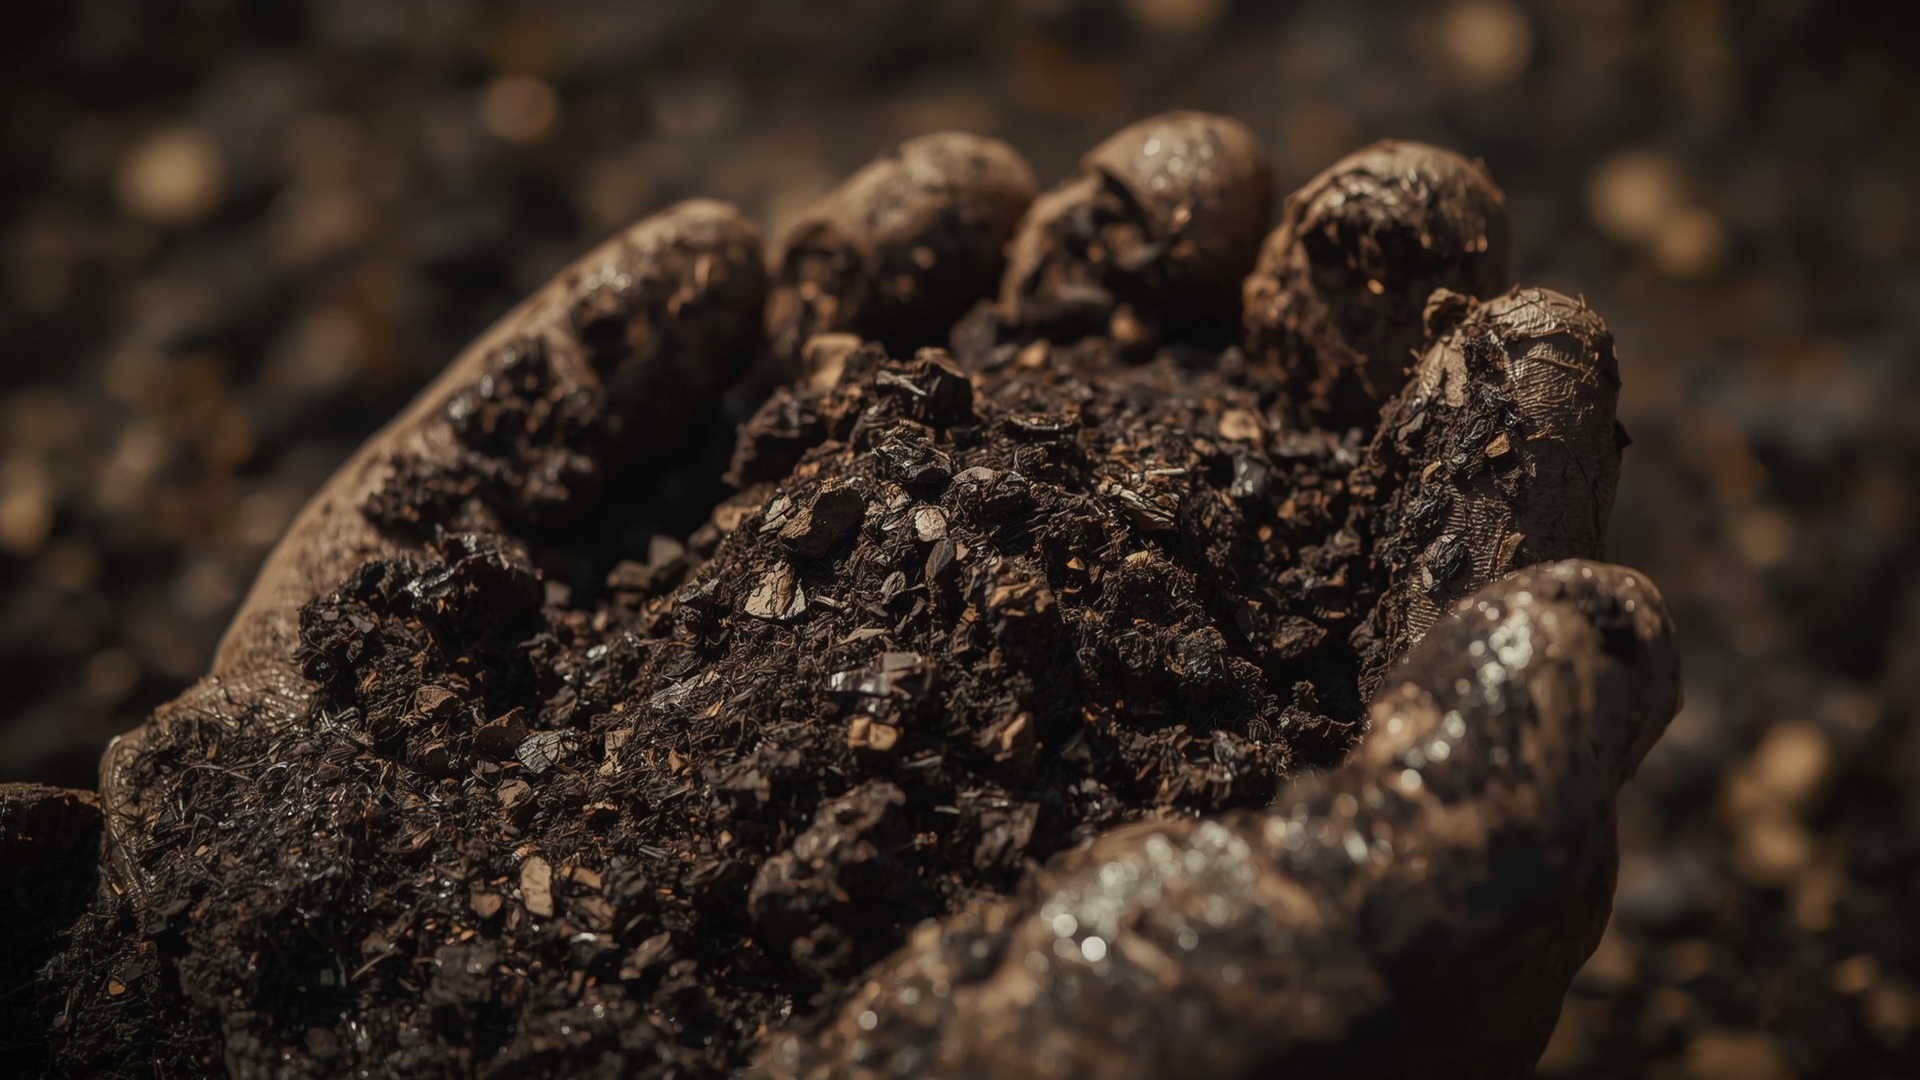
Quick Answer: Finished compost looks like dark, crumbly soil and smells earthy — not sour, ammonia-like, or like rotting food. It has no visible food scraps or large undecomposed pieces. If it still smells sharp or has recognizable materials, it needs more time.
Using unfinished compost in a vegetable bed causes real problems. The decomposition process still ongoing inside the pile uses nitrogen from the surrounding soil — pulling it away from your plants. This is called nitrogen drawdown, and it can leave crops looking pale and stunted even after you’ve added what you thought was a soil amendment.
Quick Tests for Compost Maturity
- Smell test: Should smell like forest floor or damp earth. Sour or ammonia smells mean it’s still active.
- Bag test: Fill a sealed plastic bag with damp compost. Check after 3 days. No strong odor means it’s finished. A sharp smell means decomposition is still ongoing.
- Germination test: Fill a small pot with compost and plant a few radish seeds. Germination and normal growth in 7 to 10 days indicates low phytotoxicity — meaning it won’t harm plant roots.
- Visual check: Dark color, crumbly texture, no recognizable food scraps. Some larger woody pieces are fine — screen those out before applying near seeds.
Should You Use Different Compost Types for Different Vegetables?
Quick Answer: Most vegetables grow well with general finished compost. However, brassicas and leafy greens prefer higher nitrogen inputs, root vegetables need lower phosphorus near the seed zone, and fruiting crops like tomatoes benefit from compost blended with calcium sources like crushed eggshells or gypsum.
Compost Characteristics by Source Material
| Compost Type | Nitrogen Level | Best Application | Cautions |
|---|---|---|---|
| Kitchen scrap compost (food waste) | Moderate (1.0% to 1.5% N) | General beds, leafy greens | Ensure fully finished before use |
| Manure-based compost (aged chicken, cow) | High (1.5% to 2.5% N) | Heavy feeders: corn, squash, tomatoes | Must be fully composted, not raw |
| Leaf mold (decomposed leaves) | Low (0.5% to 0.8% N) | Soil structure improvement, mulch layer | Not a nitrogen source — supplement separately |
| Municipal compost (yard waste based) | Moderate (0.8% to 1.2% N) | General soil amendment, all crops | Check source for herbicide contamination risk |
| Vermicompost (worm castings) | Moderate (1.0% to 1.5% N) | Transplant holes, seed starting mix additive | High cost — use targeted, not broadcast |
Compost for Brassicas and Leafy Greens
Crops like cabbage, broccoli, kale, lettuce, and spinach are nitrogen-hungry. They benefit most from manure-based compost or a combination of general compost plus a supplemental nitrogen source. Apply 2 inches of compost before planting and consider a mid-season top-dress halfway through the crop cycle.
Compost for Root Vegetables
Carrots, parsnips, and beets prefer compost that is fully broken down and well screened. Coarse or chunky compost near the seed zone causes root forking — the plant’s root hits an obstacle and splits. Use fine-screened, fully finished compost worked in several weeks before direct seeding.
Compost for Fruiting Crops
Tomatoes, peppers, squash, and cucumbers need consistent nutrition through a long growing season. Incorporate 2 inches of compost before planting, then top-dress again midseason. Adding compost around tomatoes can also help buffer calcium availability, reducing the risk of blossom end rot — a condition caused by inconsistent calcium uptake during fruit development.
How Do You Integrate Compost With Other Soil Amendments?
Quick Answer: Compost pairs well with balanced organic fertilizers, biochar, and mineral amendments like lime or gypsum. It should be applied first as the base layer. Fertilizers go on top or are mixed in after. Lime and gypsum are worked in separately based on soil test results.
Compost is foundational but not complete for all situations. A well-managed vegetable bed typically uses compost as the base, then adds targeted inputs based on what specific crops need.
Common Compost Combinations for Vegetable Beds
- Compost + balanced organic fertilizer (e.g., 4-4-4 or 5-3-4): Good for all-purpose vegetable beds. Apply compost first, sprinkle fertilizer on top, then incorporate both together.
- Compost + kelp meal: Kelp meal adds trace minerals and plant hormones that improve transplant establishment. Broadcast at 1 to 2 pounds per 100 square feet alongside compost.
- Compost + agricultural gypsum: Useful in heavy clay soils. Gypsum (calcium sulfate) improves drainage and adds calcium without affecting pH. Apply at 2 to 4 pounds per 100 square feet.
- Compost + biochar: Biochar (a carbon-rich material made from charred organic matter) improves long-term water retention and acts as a habitat for beneficial microbes. Apply at 0.5 to 1 inch alongside compost.
What Mistakes Should You Avoid When Using Compost in Vegetable Beds?
Quick Answer: The most common mistakes are using unfinished compost, applying too much, mounding it against plant stems, applying in dry conditions without watering in, and relying on compost alone for nitrogen-hungry crops. Each of these reduces effectiveness or causes plant stress.
Mistake 1: Using Unfinished Compost
Already covered, but worth repeating — this is the most common and most damaging mistake. Raw or active compost pulls nitrogen from your soil during its breakdown process. It can also introduce weed seeds and pathogens that a properly hot-composted pile would have killed.
Mistake 2: Applying Compost in Dry, Unwatered Soil
Compost needs moisture to integrate into soil and for microbial activity to begin. If your bed is very dry, water it the day before applying compost. After incorporation, water again to help settle everything and activate the microbial community.
Mistake 3: Mounding Compost Against Plant Stems
Piling compost or mulch directly against a stem traps moisture and creates a habitat for fungal disease and pests. Keep all surface compost at least 2 to 3 inches away from stems and crowns.
Mistake 4: Assuming Compost Replaces All Fertilizer
Compost is a soil improver and slow-release nutrient source. It is not a complete fertilizer. Heavy feeders like corn, tomatoes, and brassicas often still need additional nitrogen during peak growth. A bed that gets only compost each year can gradually drift low in plant-available nitrogen, especially if you’re growing high-demand crops in succession.
Mistake 5: Skipping Soil Testing
Without a soil test, you’re guessing. Over multiple seasons of heavy compost application, phosphorus can build to levels that lock out other nutrients. A basic soil test (typically $15 to $30 through a university extension lab) tells you where you are and what, if anything, you need to adjust.
How Does Compost Affect Soil pH in Vegetable Beds?
Quick Answer: Finished compost is slightly acidic to neutral, typically pH 6.5 to 7.5. Regular application tends to buffer soil toward a neutral range, which is ideal for most vegetables. It won’t dramatically raise or lower pH the way lime or sulfur does, but it helps stabilize it over time.
Most vegetables grow best in soil with a pH between 6.0 and 7.0. Compost naturally buffers soil toward this range, which is one reason regular application improves growing conditions across different soil types. In acidic soils (below 6.0), compost can slowly nudge the pH upward. In alkaline soils (above 7.5), the organic acids in compost may help lower it slightly.
These effects are gradual. If your soil is significantly out of range, use lime (to raise pH) or sulfur (to lower pH) as the primary corrective tool, with compost as long-term support.
How Do You Store Compost Before Applying It to Your Garden?
Quick Answer: Store finished compost in a covered bin or pile to prevent nutrient loss from rain and sun. Keep it moist but not waterlogged. Covered storage preserves nitrogen for up to 12 months. Open piles lose soluble nutrients within a few weeks of heavy rainfall.
If you buy compost in bulk or bags, use it within one growing season for best results. Bagged compost stored in sealed bags stays viable longer, but once opened it should be used within a few months or stored in a covered container.
Avoid letting compost dry out completely in storage. Bone-dry compost has reduced microbial activity and takes longer to activate once applied. A slightly moist consistency — like a wrung-out sponge — is ideal both in storage and at the time of application.
Frequently Asked Questions
Can I use compost straight from the bag without any preparation?
Yes, if the label says “finished” or “mature” compost. Bagged compost from garden centers has usually been processed to a stable state. Check that it smells earthy, not sour. For bulk compost from a municipal pile, ask about the composting temperature and duration before applying it directly to vegetable beds.
How long does it take for compost to improve soil structure?
You’ll notice improved drainage and workability within one growing season of regular application. Real structural change — increased aggregate stability and long-term water retention — typically takes 2 to 3 seasons of consistent annual compost use. Sandy soils often respond faster than clay soils.
Is homemade compost better than store-bought for vegetable beds?
Both work well if fully finished. Homemade compost made from diverse materials (kitchen scraps, yard waste, manure) often has a richer microbial community. Store-bought compost is more consistent in nutrient content and moisture level. Many gardeners blend both for convenience and biological diversity.
What is the difference between compost and mulch in a vegetable bed?
Compost is incorporated into or applied thinly to soil as a nutrient and structure amendment. Mulch (wood chips, straw, leaves) is applied in thicker layers on top of soil to suppress weeds and retain moisture. Compost can function as a light mulch when top-dressed, but it breaks down much faster than traditional mulch materials.
Can I apply compost in the same spot every year without rotating crops?
You can apply compost to any bed annually. However, crop rotation is still necessary to manage soil-borne diseases and pest cycles that compost alone cannot address. Compost improves the soil environment, but it doesn’t replace the disease-breaking benefit of moving crop families to new locations each season.
Does worm castings compost work the same way as regular compost?
Worm castings (vermicompost) are more concentrated than bulk compost. They’re rich in plant-available nutrients and beneficial microbes but are produced in smaller quantities. They’re best used in planting holes, seed-starting mixes, or as a targeted top-dress — not broadcast at the same volumes as regular compost. Think of them as a precision soil amendment rather than a bulk soil builder.